
Do you want to accept payments with Stripe in WordPress? Stripe makes it easier for site owners to accept payments on their WordPress websites. In this article, we will show you how to easily accept payments with Stripe in WordPress.
Note: Stripe requires your site to be using SSL/HTTPS encryption. If you don’t already have SSL certificate for your website, then please see our step by step guide on how to add SSL in WordPress. Some WordPress hosting providers are now offering free SSL with Let’s Encrypt.
There are many different ways to accept payments with Stripe in WordPress. We will cover 4 different methods, so you can choose the one that best suits your needs.
For quick browsing, feel free to use the navigation links below:
- Custom Order Form with WPForms
- Purchase Button with WP Simple Pay Pro
- Online Store with WooCommerce
- Digital Downloads with EDD
Custom Stripe Order Forms in WordPress with WPForms
WPForms is the best WordPress form plugin. It allows you to create custom payment forms and easily accept payments on your WordPress site using Stripe and PayPal.
WPForms is a paid plugin, and you will need the Pro plan to use the Stripe and PayPal add-ons.
The first thing you need to do is install and activate the WPForms plugin.
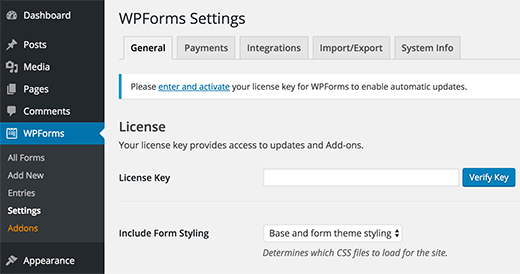
Upon activation, you need to visit WPForms » Settings page to enter your license key. You can get this license key from your account on WPForms website.
After verification, you need to head over to WPForms » Add-ons page.
Scroll down to ‘Stripe Addon’ and click on the Install Addon button next to it.
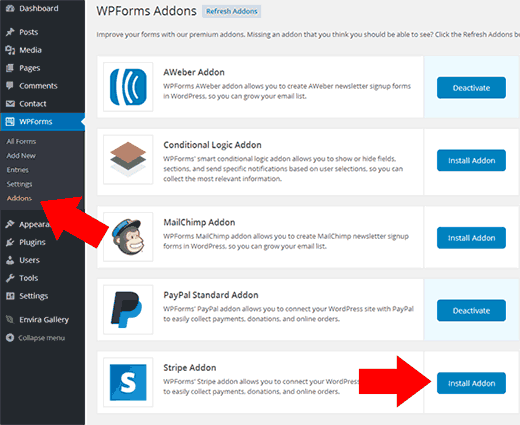
WPForms will automatically install the Stripe forms addon. You will need to click on the activate button to start using this addon.
Next, you need to visit WPForms » Settings page and click on the payments tab.
Once there, you need to connect Stripe to your WordPress site by entering the API keys. You can get these keys from your Stripe account settings.
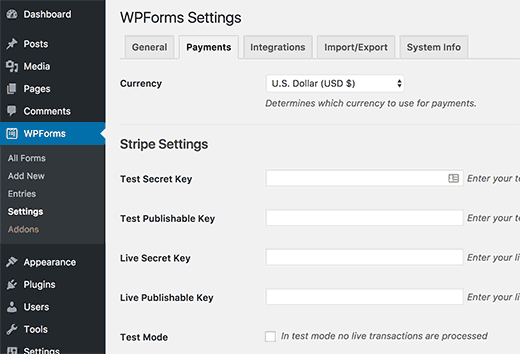
After entering the API keys don’t forget to click on the save button to store your settings.
You are now ready to accept payments using Stripe in WordPress.
Next, you need to create a form to accept payments on your WordPress site.
Head over to WPForms » Add New page. This will launch the WPForms form builder interface.
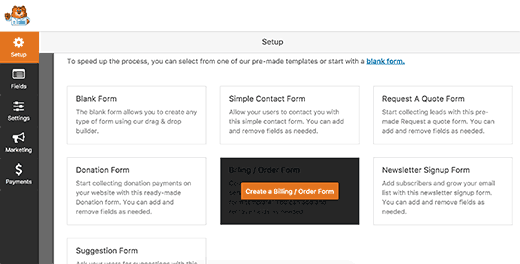
WPForms comes with ready to use form templates. You can select an Order/Billing form, donations form, or create a blank form.
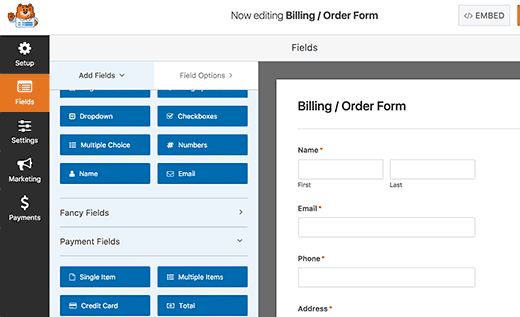
You can add new form fields by clicking them from the left column. You can also edit a form field by simply clicking on it.
Once you are satisfied with the form, you need to click on the Payments » Stripe tab.
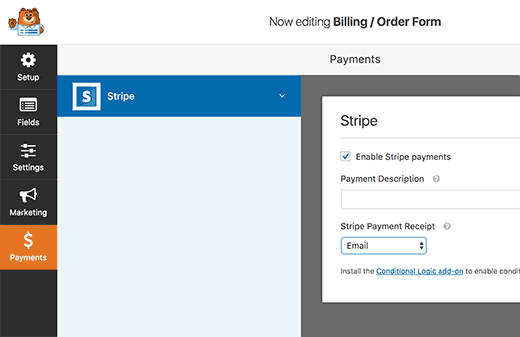
Now you need to check the box next to ‘Enable Stripe payments’ option and enter a description for the payment. You can also select to send a payment receipt.
Don’t forget to click on the save button to store your settings.
You are now ready to add this form to any WordPress post or page you want.
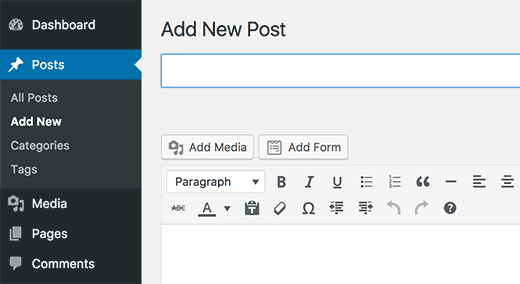
Simply create a new post or page or edit an existing one and then click on the Add Form button.
This will bring up a popup where you need to select the form you just created and click on the add form button.
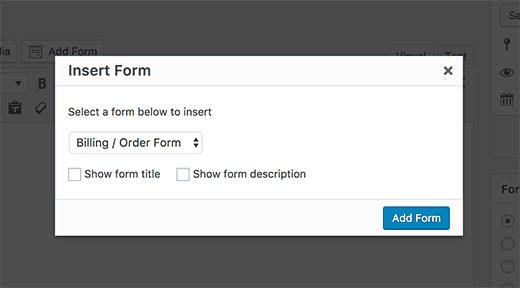
WPForms will now add the form shortcode to your WordPress post editor.
You can now save or publish your page and click on the preview button to see your form in action.
Purchase Button with WP Simple Pay Pro
This method allows you to add a payment button to your WordPress site. Unlike WPForms, this method does not allow you to create custom payment forms with your own fields.
The first thing you need to do is install and activate the WP Simple Pay Pro plugin.
Upon activation, you need to visit Simple Pay Pro » Settings page to configure plugin settings.
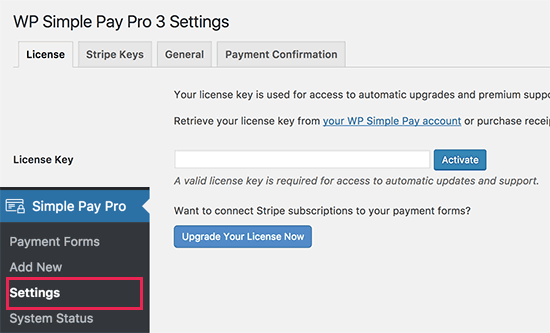
First, you need to add your license key. You can find this information from your account on WP Simple Pro website.
Next, switch to the ‘Stripe Keys’ tab. The first option you will notice is ‘Test mode’. By default, it is turned off. This allows you to add Stripe in testing mode. Once you are ready to go live, you will need to turn it on.
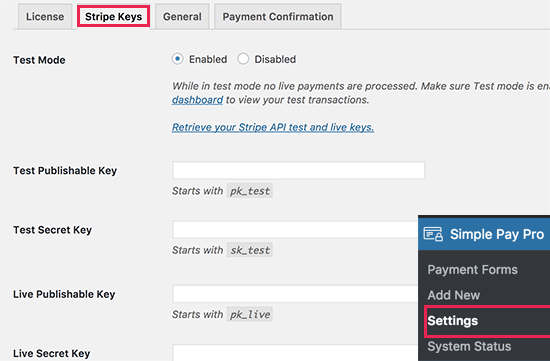
Next, you will need to provide your Stripe API Keys. You can get this information from your Stripe account.
After entering your API Keys don’t forget to click on the save changes button to store your settings.
Next, you need to click on the ‘General’ tab on plugin’s settings page.
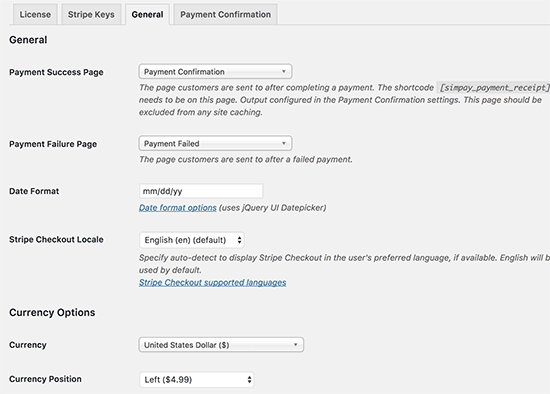
This is where you can set site name, currency, logo, payment button label, etc.
You can also add redirect URLs when a payment is successful or failed. These could be any WordPress pages on your site.
Don’t forget to click on the save changes button to store your settings.
Now you are ready to add a Stripe payment form to your website. Head over to Simple Pay Pro » Add New page to create a new payment form.
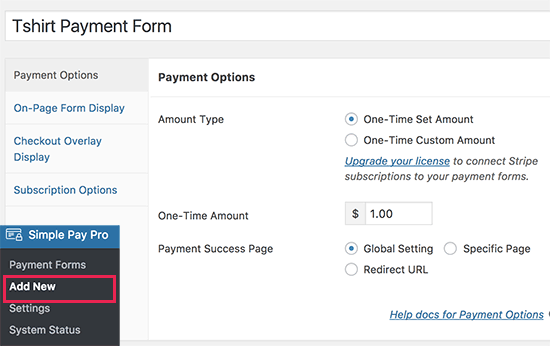
First you need to select a payment amount type and the amount.
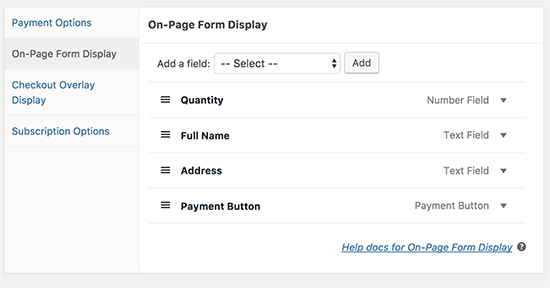
Next, you need to switch to on-page form display. Here you can add fields to the payment form that will be displayed on your website. Simply select a field and then click on the ‘Add button.
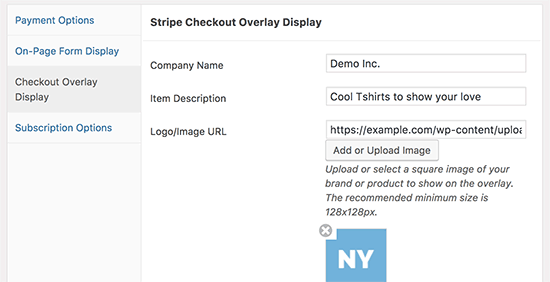
After that, you can switch to ‘Check out overlay display’ page. You can upload your company logo, add item description, and payment button text.
Don’t forget to click on the ‘Create’ button to save your form settings.
You can now head over to the post or page where you want to display the payment form. On the edit screen, click on the ‘Insert payment form’ button.
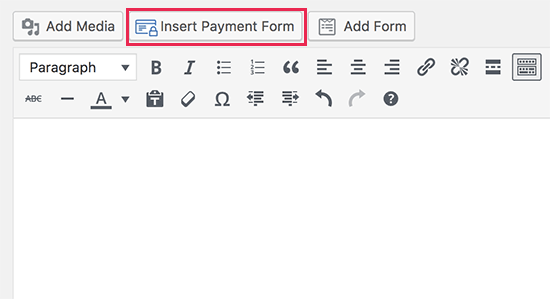
This will bring up a popup where you can select the payment form you created earlier. Click on ‘Insert payment form’ button to add the form shortcode.
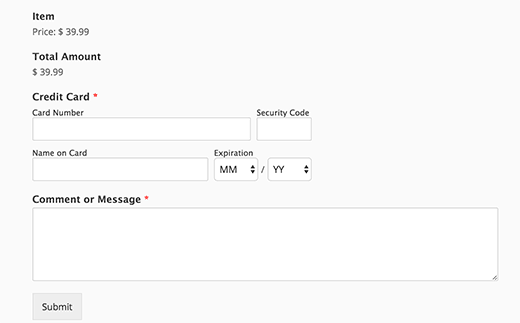
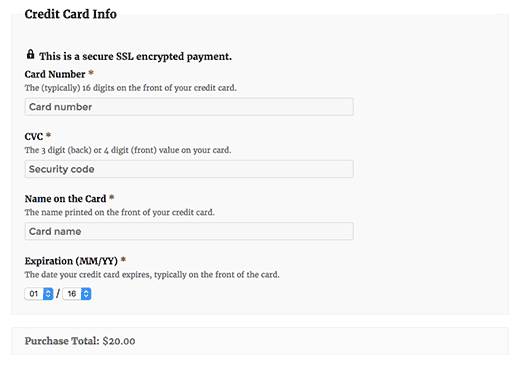
You can now save your post/page and preview your website to see it in action. You will see your payment form with a button. Clicking on the button will bring up the Stripe checkout popup.

Adding Stripe Payment Gateway in WooCommerce
If you are running an online store with WordPress using WooCommerce, then here is how you can accept payments using Stripe.
The first thing you need to do is install and activate the WooCommerce Stripe Payment Gateway plugin.
Upon activation, you need to visit WooCommerce » Settings page and then click on the checkout tab.
You will notice the new Stripe payment option on the page. Clicking on it will allow you to set up the Stripe payment gateway for your WooCommerce store.
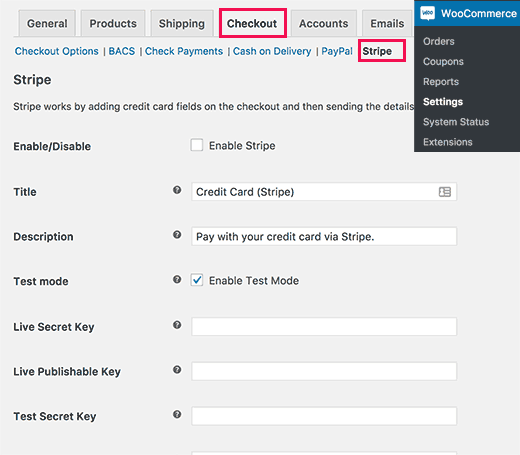
First, you need to click on the ‘Enable Stripe’ option.
After that, you can check the test mode button, which allows you to test the Stripe payment gateway. Make sure that you uncheck this box when you are ready to accept payments.
Next, you need to enter your Stripe API keys. You can obtain these keys from your Stripe account settings.
Don’t forget to click on the save changes button store your settings.
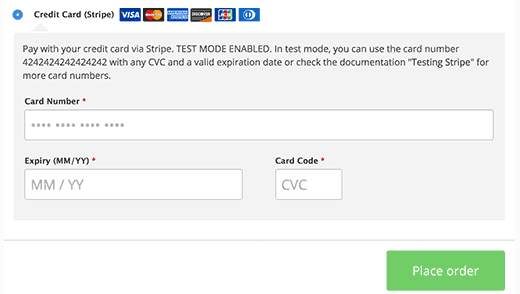
That’s all, your users will now see Stripe as a payment option on the checkout page.
Stripe Payments with Easy Digital Downloads
Easy Digital Downloads is one of the best WordPress eCommerce plugins on the market. It allows you to easily sell digital downloads from your WordPress site.
The first thing you need to do is install and activate the Stripe Payment Gateway add-on for Easy Digital Downloads. For more details, see our step by step guide on how to install a WordPress plugin.
The Stripe extension is a paid add-on for Easy Digital Downloads. It costs $89 for a single site license.
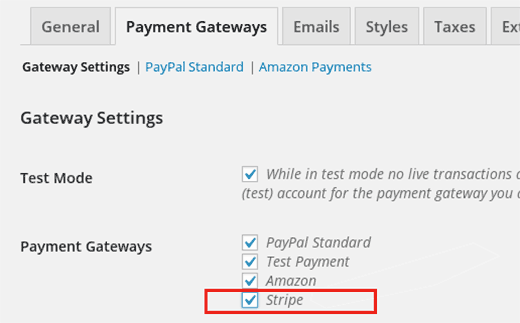
Upon activation, you need to visit Downloads » Settings page and then click on ‘Payment Gateways’ tab.
Check the box next to Stripe to enable Stripe as a payment gateway on your website.
Click on the save changes button to store your settings.
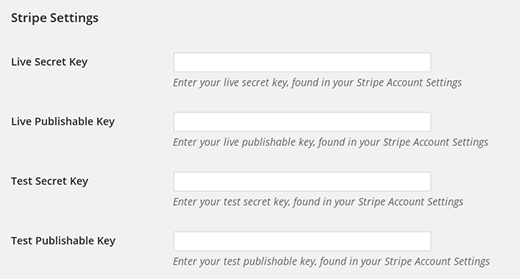
Next, you need to scroll down to Stripe settings section and enter your Stripe API keys. You can get these keys from your Stripe account settings.
After adding your Stripe API keys, you can configure additional settings. You can ask users for a billing address, display checkout in a modal, upload a logo for the modal, etc.
Don’t forget to click on the save changes button to store your changes.
That’s all, your users will now see the option to pay using Stripe at checkout.
We hope this article helped you learn how to accept payments with Stripe in WordPress.
