Do you want to add age verification to your WordPress website? Some website owners may want to ask their site visitors for age verification before accessing content due to the nature of the content and the legal requirements. In this article, we will show you how to easily add age verification on your WordPress site.
The first thing you need to do is install and activate the Age Gate plugin.
Upon activation, the plugin adds a new menu item labeled Age Gate to your WordPress admin area. Clicking on it will take you to plugin’s settings page.
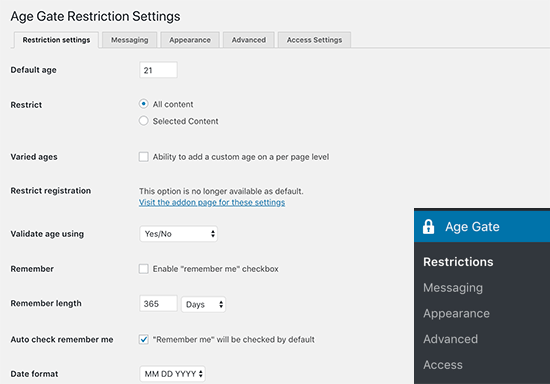
First, you need to enter the required minimum age for verification. After that, you can choose whether you want to apply the age verification restriction on all or selected content.
The ‘Varied Age’ option allows you to select different minimum age requirements for different posts and pages on your website.
For age verification, the plugin provides three options. You can display a form where users can enter their age, drop down boxes, or simple Yes/No buttons.
You can also allow users to remember the age verification or go ahead and enable ‘Remember me’ option by default. This would save your users from seeing the age verification message each time they visit your website.
Once you’re done configuring the settings, go ahead and click on the save changes button to store your settings. You can now visit your website to see the age verification screen in action.
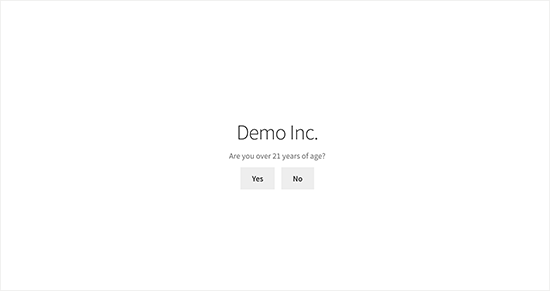
The default age verification screen doesn’t look very good. Let’s take a look at how to customize it and make it look better.
Customizing Age Verification Screen and Message
The Age Gate plugin allows you to easily customize the appearance of the age verification screen and even include your own message.
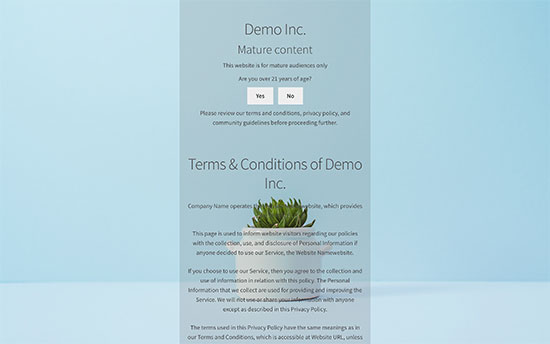
First, click on the ‘Messaging’ tab on the plugin’s settings page. From here, you can change the age verification message. You can provide a title, description, terms and conditions, privacy policy, and any other information you want to display.
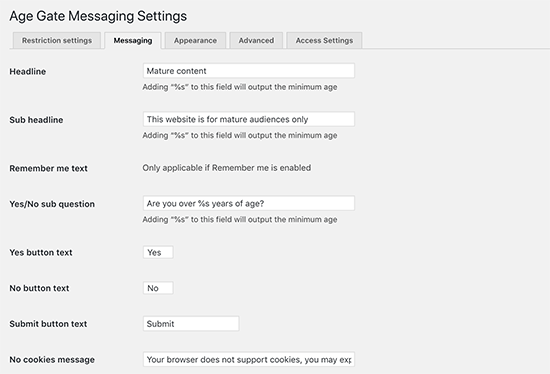
Don’t forget to click on the save changes button to store your settings.
Next, you need to switch to the ‘Appearance’ tab on plugin’s settings page. From here, you can change the background color, foreground color, background image, text color, and more.
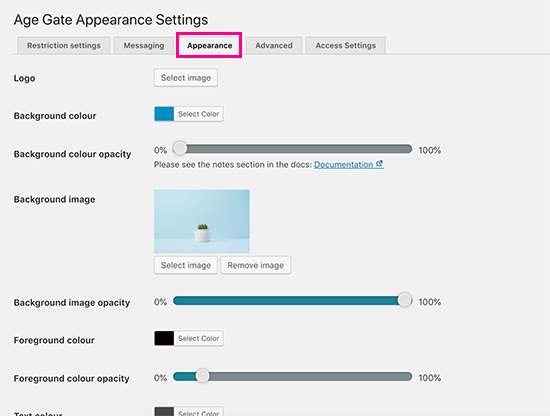
After changing the appearance settings, don’t forget to save your changes.
You can now visit your website in a new browser window using incognito mode to view the age verification screen in action.
Advanced Age Verification Settings
If you are having trouble with your age verification screen page, then switch to the ‘Advanced’ tab on plugin’s settings page.
The most likely issue you may see are caused by conflicts with your WordPress caching plugin or the caching enabled by your WordPress hosting service.
In that case, Age Gate comes with a JavaScript version that you can enable from the Advanced tab.
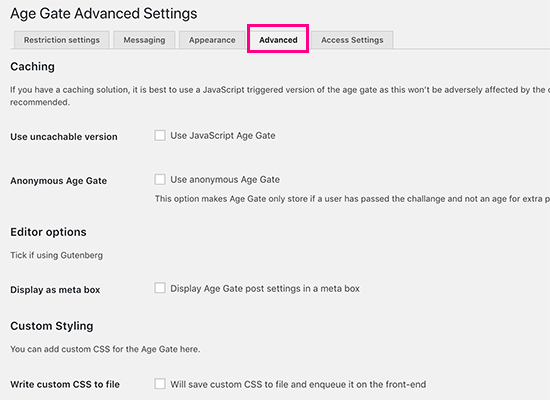
You can also enable other advanced settings from this page like Gutenberg support, adding custom CSS rules, and enabling anonymous age verification.
Setting Age Verification Screen for Specific Posts
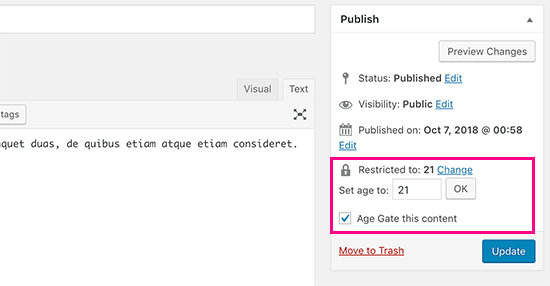
If you chose ‘Varied Ages’ or ‘Selected Content’ options in the plugin’s settings page, then you can enable age verification for individual posts and pages.
Simply edit the post or page, and you will see the age restriction options under the publish meta box.
If you run an online store, then you can also use this option for specific products on your site.
We hope this article helped you learn how to add age verification in WordPress.
