
Do you want to add audio stories to your images in WordPress? You can use it to add narration to your photographs, or simply create web-based audio-visual storybooks. In this article, we will show you how to easily add audio stories to images in WordPress.
The first thing you need to do is install and activate the Audio Story Images plugin.
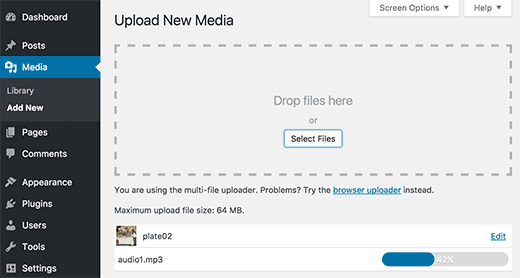
Upon activation, you need to visit Media » Add New and upload your image and audio file you want to add to the image.
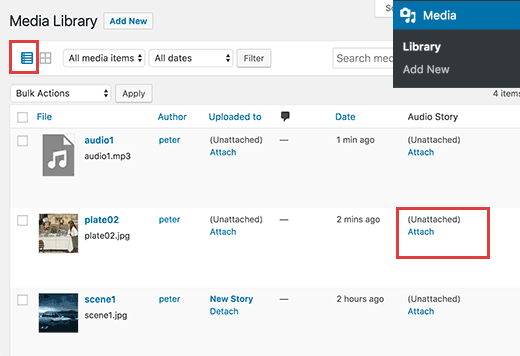
After uploading both files, you need to visit the Media » Library page. Next, click on the list view icon to display your media files in a list.
You will now notice a new column labeled ‘Audio Story’. You need to click on the ‘attach’ link next to the image you just uploaded.
This will bring up a popup where you need to select the audio file you want to attach to the image.
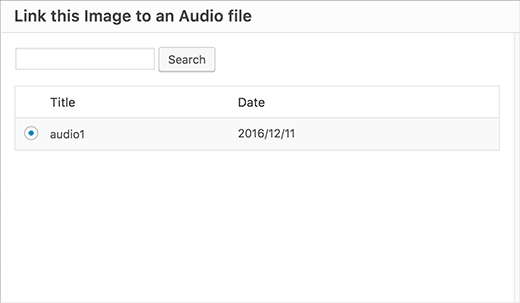
Go ahead and click on the select button to continue.
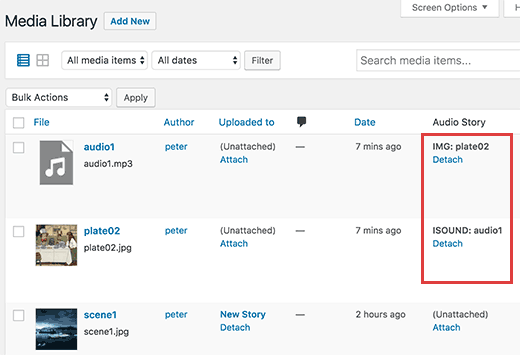
The plugin will now link your image and audio file to each other.
Now that your image is linked to the audio file, you can add it to any WordPress post or page.
Simply edit a post or page where you want to add the image and click on the ‘Add Media’ button.
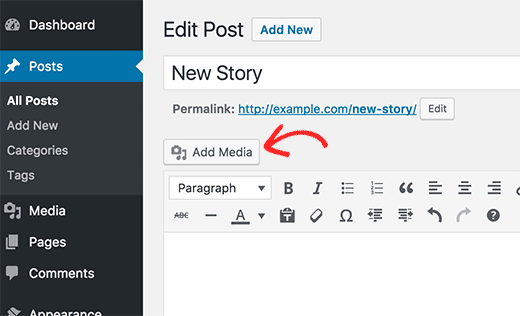
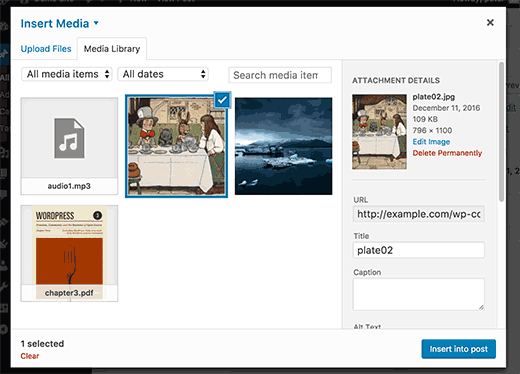
This will bring up the media uploader popup.
You need to select the image file you just uploaded and insert it into your post.
Once you are satisfied, you can either save or publish your changes.
After that click on the preview button to see your audio story image in action.
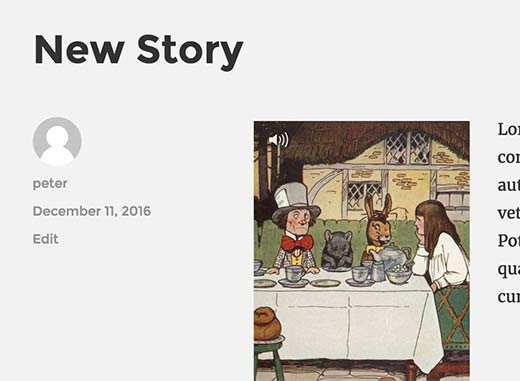
The plugin will add a tiny volume icon on the top left corner of your image. Clicking on the icon will play the audio file linked to the image.
We hope this article helped you learn how to add audio stories to images in WordPress.
