
Have you seen sites adding snowflakes because of the holiday season? It is a common trend to change site design or add minor updates to reflect the specific season. On most websites, we see this type of effect in the winter season. In this article, we will share how you can add falling snowflakes in your WordPress Blog.
The first thing you need to do is install and activate the “WP Super Snow” plugin.
Upon activation, you will notice the new ‘Super Snow’ menu item in your WordPress admin bar. Clicking on it will take you to plugin’s settings page.
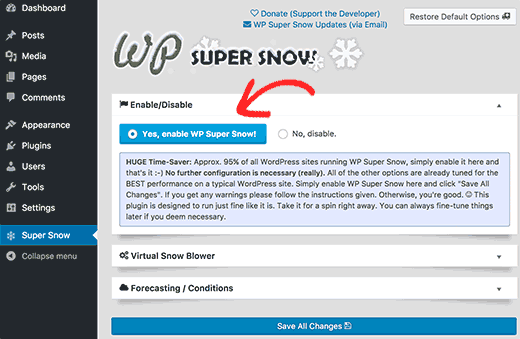
You need to click on ‘Yes enable Super Snow’ button to enable the plugin and click on the save all changes button at the bottom.
You can now visit your website to see snowflakes and snowfall in action.

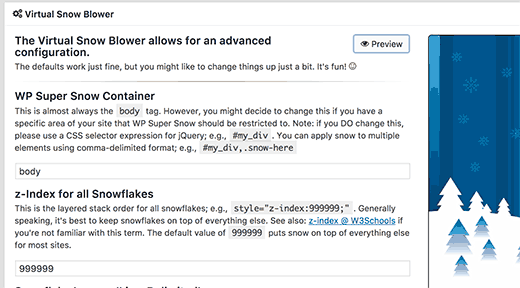
The basic settings for the plugin would work for most websites. However, if you would like to change anything then you can click on the ‘Virtual Snow Blower’ tab.
Here you will be able to change the snowfall direction and upload your own images to be used for snowfall and snowflakes.
We hope this article helped you learn how to add falling snowflakes in your WordPress blog.
