
Do you want to add a filterable portfolio in WordPress? A filterable portfolio allows users to sort items in your portfolio based on tags. This helps you showcase different styles of your work, and your users can discover items that interest them. In this article, we will show you how to easily create a filterable portfolio in WordPress.
Why Create a Filterable Portfolio in WordPress?
Normally, most photographers and designers just create a beautiful portfolio showing their best photographs. However, sometimes those looking to hire you may want to see if you have done something similar before.
Adding filters to your portfolio allows you to show your work under different tags. It also helps your users to easily sort items in your portfolio.
Creating a Filterable Portfolio in WordPress
First, you will need to install and activate the Envira Gallery plugin.
Envira Gallery is one of our premium WordPress plugins, and you will need at least the silver plan to access the tags addon.
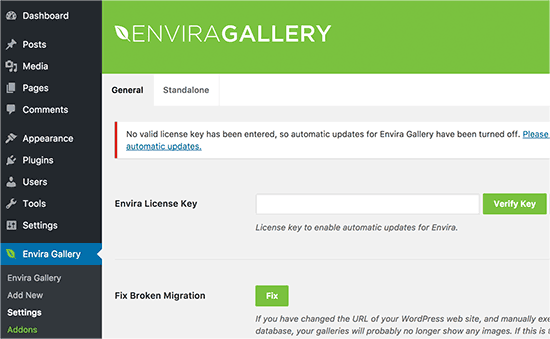
Upon activation, you need to visit the Envira Gallery » Settings page to enter your license key. You can get this information from your account on the Envira Gallery website.
Next, you need to install the tags addon. Head over to Envira Gallery » Add-ons page and locate the tags addon.
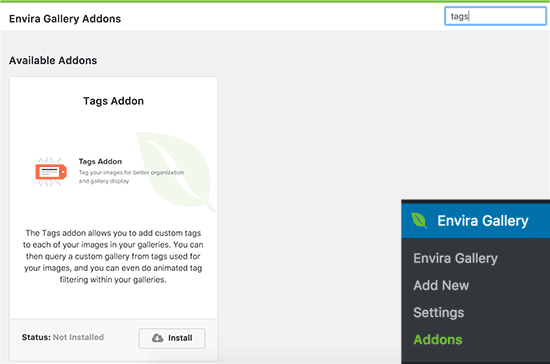
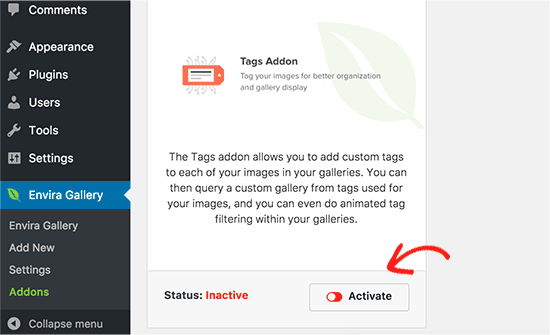
Click on the install button and Envira Gallery will fetch and install the addon for you. You will still need to click on the Activate button to start using the addon.
Now you are ready to create your filterable portfolio.
Head over to Envira Gallery » Add New page to create your first gallery.
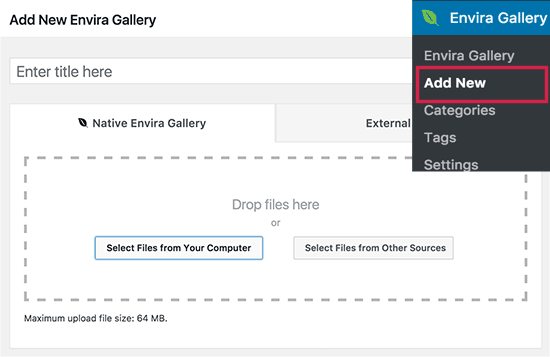
Click on ‘Select files from your computer’ button to upload your photos. You can also click on ‘Select files from other sources’ button to select files from the WordPress media library.
Envira will now upload and insert files into your gallery. Once it’s done, you can scroll down to see your images.
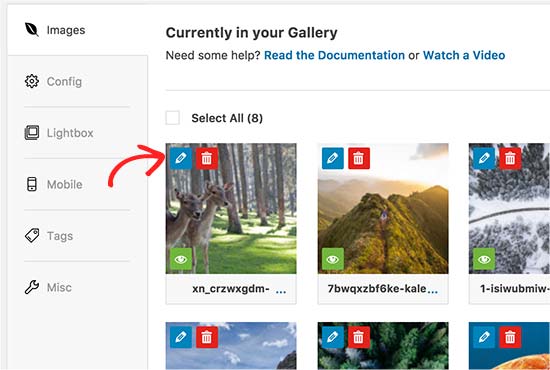
Now you need to click on the pencil icon to edit an image. This will bring up a popup where you can add the tags and other metadata to your photos.
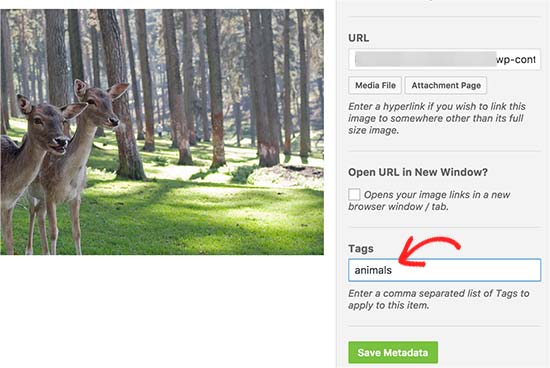
Enter the tags you want to assign to this photo. You can add multiple tags separated by the comma.
Once done, click on the save metadata button to store your tags.
Now you need to repeat the process to add tags to all images in your gallery.
After adding tags to your photos click on the Tags tab on the left. This is where you can enable or disable tag-filtering for your gallery.
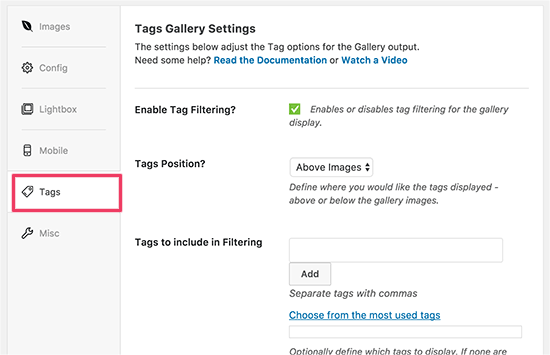
You need to check the box to enable tag filtering, and you will be able to see settings for this option.
You can show tags above or below the gallery, show all tags or select tags to show, and configure other display settings.
Once you are done, click on the publish button to make your gallery live.
Your portfolio gallery is now ready to be added to your site.
You can now create a post or page where you want to display your filterable portfolio. On the post editor screen, click on the ‘Add Gallery’ button.
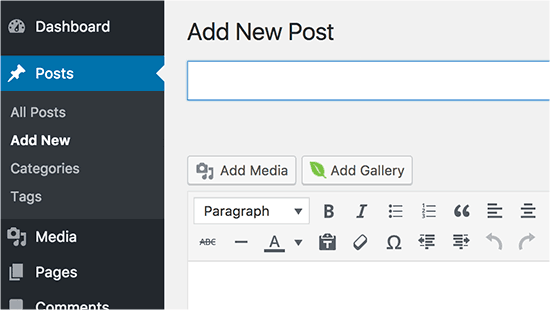
This will bring up a popup where you can select the gallery you just created and insert it into your WordPress post and page.
You can now update your post or page to save your changes and preview your website to see your filterable portfolio in action.

We hope this article helped you add filterable portfolio in WordPress.
