Did you ever want to add a Wikipedia like a table of the content box on some of your long articles? A table of content makes it easier for users to jump to the section they want to read. In this article, we will show you how to create a table of content in WordPress posts and pages without writing any HTML or CSS.
Why Add Table of Contents in WordPress Posts?
You may have seen the table of contents on websites like Wikipedia. A table of contents makes it easier for users to jump to the section they want to read in long articles.
It also helps with your WordPress SEO because Google automatically adds a jump to section link next to your site in the search results.

You can manually create a table of contents in WordPress by writing HTML code. However that is difficult for beginners because you have to manually create a list, add links, and add ID attribute through-out the article.
But there’s an easy way. Let’s take a look on how to easily create a table of contents in WordPress posts and pages.
Creating a Table of Contents in WordPress
The first thing you need to do is to install and activate the Easy Table of Contents plugin.
Upon activation, you need to visit Settings » Table of Contents page. From here, you can manage general settings for the table of contents like selecting position, choosing a label for the container, etc.
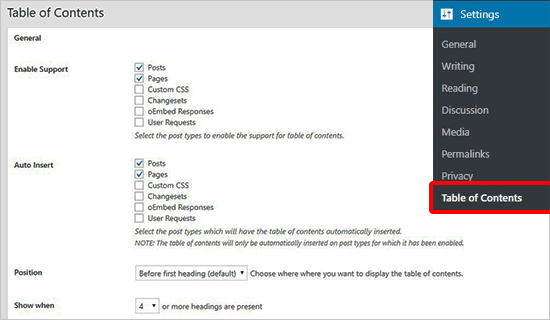
You can also enable or disable auto-insertion of the table of content for each post type. If enabled, then the plugin will automatically add a table of contents for an article that has more than 4 headings. You can change that to any other number that you like.
Typically, we don’t recommend adding a table of content to every article unless all of your articles are really long.
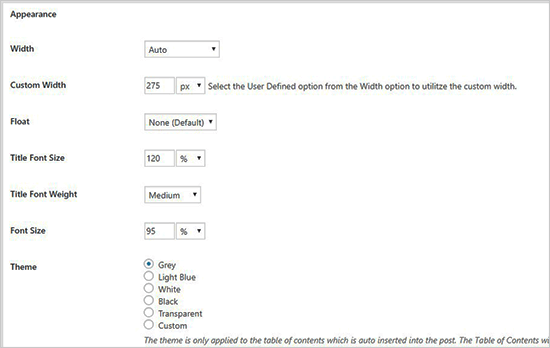
Next, you can scroll down to change the appearance of the table of contents box. From here you can select a theme, adjust width and height, set the font size, or create a custom color scheme for your table of contents box.
After that, you need to go to the Advanced settings section. The default options would work for most websites, but you can review these options to see if you would like to adjust anything.
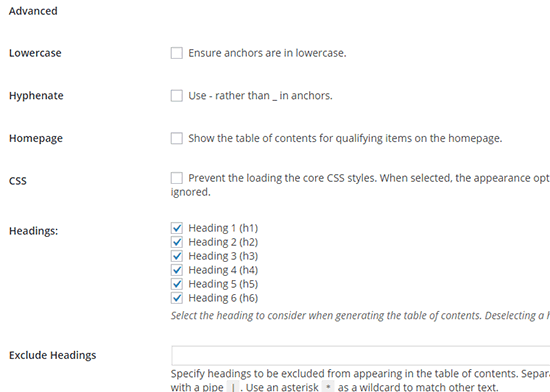
Don’t forget to click on the Save Changes button to store these settings.
Adding a Table of Contents to WordPress Posts or Pages
Unless you have disabled the auto-insertion, the plugin will now automatically start adding a table of contents to posts based on settings you chose earlier. You can also manage the settings on a post by post basis.
On the post edit screen, you will notice a new section to add and manage the table of contents for your post.
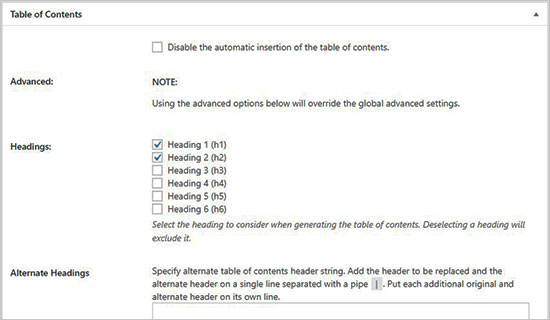
In this section, you can disable auto-insert option for the table of contents on this post specifically. You can also define which heading level to use for the table items.
Note: If you change any setting in this box, then it will override the global settings for this specific post/page.
Once you have written the article with multiple headings, you can simply preview it to see the Table of Contents in action.

The table of contents will appear just above the first heading in your article. Your readers can click on links and jump to the section they want to read.
We hope this article helped you learn how to create a table of contents in WordPress posts and pages.
