
Recently, a user asked us how to create a video gallery in WordPress. WordPress makes it easy to embed videos in your blog posts, but it does not allow you to create video galleries out of the box. In this article, we will show you how to easily create a video gallery in WordPress.
When and Why Create a Video Gallery in WordPress
WordPress makes it easy to embed videos in your blog posts by simply entering the video URLs. It can also display hosted videos on your own website.
However, you should never upload videos to WordPress. Videos are large files and serving them directly may cause issues with your WordPress hosting service.
You can easily add a single video into your posts but what if you wanted to show multiple videos on a page?
One way to do this is by adding one video after another. While it works, it creates an unpleasant user experience because it requires a lot of scrolling.
Wouldn’t it be nicer if you could create a video gallery with thumbnails just like a photo gallery? This would allow you to show more videos in less space by utilizing a beautiful mobile friendly grid.
Let’s take a look at how to easily create a video gallery in WordPress.
Method 1: Create a Video Gallery in WordPress with Envira Gallery
For this method, we’ll be using the Envira Gallery plugin. It is the best WordPress gallery plugin on the market. It also has a videos addon which allows you to create beautiful mobile-responsive video galleries in WordPress.
Envira Gallery is a paid plugin, and you’ll need at least their pro plan to access the videos addon.
The first thing you need to do is install and activate the Envira Gallery plugin.
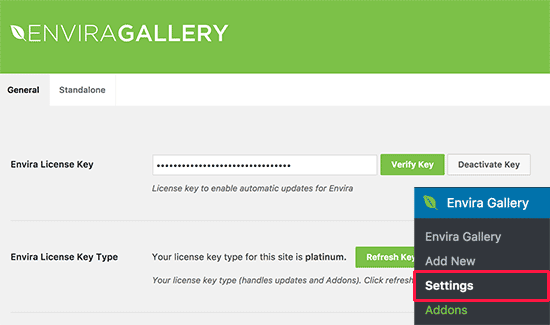
Upon activation, you need to visit the Envira Gallery » Settings page to add your license key. You can find this information from your account on the Envira Gallery website.
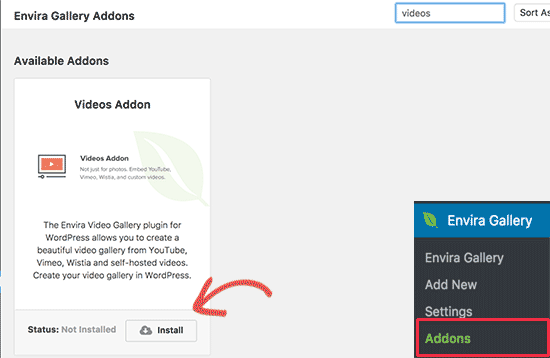
Next, you need to head over to the Envira Gallery » Add-ons page. You’ll see all the add-ons available for you to install. Look for the Videos addon and install it.
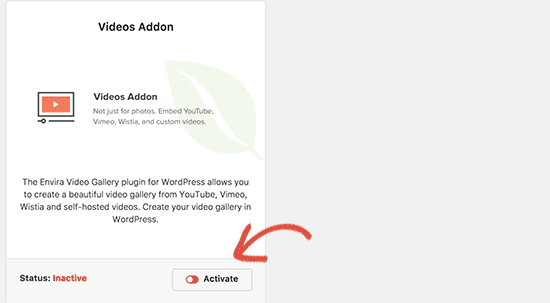
Envira Gallery will now fetch and install the videos addon. After that, you need to click ‘Activate’ to start using it on your website.
Now you are ready to create your first video gallery.
Head over to the Envira Gallery » Add New page to create your gallery. First, you need to provide a title for your gallery.
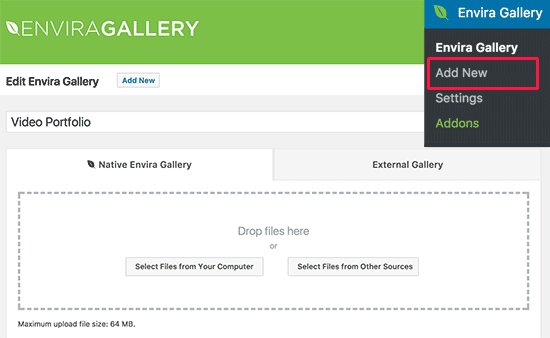
Envira Gallery can create a video gallery of self-hosted videos as well as videos hosted on YouTube, Vimeo, and Wistia. We recommend using third-party video hosting services for better user experience.
First, you’ll need to upload your videos to YouTube or Vimeo. After that, click on ‘Select videos from other sources’ button to continue.
This will bring up the Insert Media popup where you need to click on the ‘Insert videos’ link in the left column.
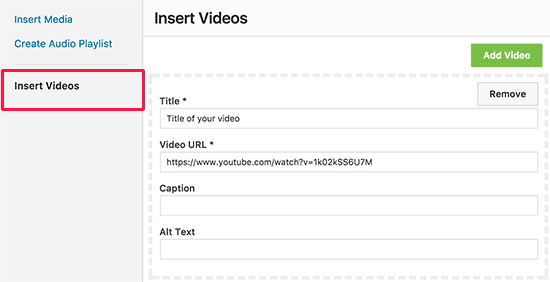
You need to click on the ‘Add Video’ button to enter the title and the video URL.
To add more videos, click on the ‘Add Video’ button again. Feel free to add as many videos as you need.
Once you have added all the videos you want to show in the gallery, click on the ‘Insert into Gallery’ button to continue.
Envira will now fetch the thumbnails for your videos and show them under the images section.
You can edit videos at any time by clicking on the ‘pencil’ icon or remove any video. You can also add more videos if needed.
Your video gallery is almost ready. Let’s configure the video gallery settings.
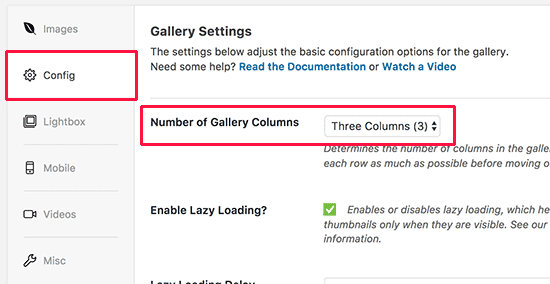
Start by clicking on the ‘Config’ tab in the left column, and under ‘Number of Gallery Columns’ options select two or three column layout.
This ensures that your video thumbnails appear nicely with adequate space between each video.
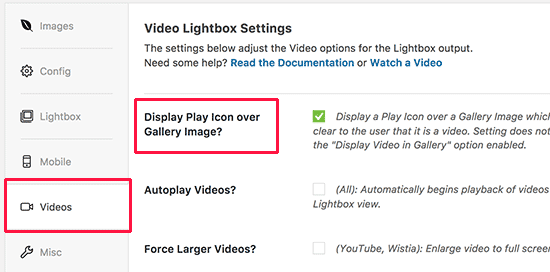
Now let’s add the play button to your video thumbnails.
Switch to the ‘Videos’ tab and check the box next to ‘Display play icon over gallery image’ option.
Your video gallery is now ready. Go ahead and click on the publish button to make your video gallery available to WordPress.
Display Video Gallery on Your Website
Envira Gallery makes it easy to display your video gallery in any WordPress post or page. You can also display the gallery in a sidebar.
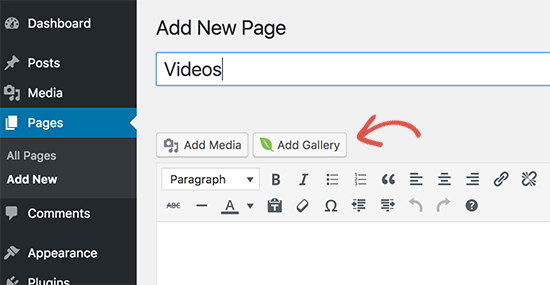
Let’s create a new page in WordPress and give it an appropriate title, for example: ‘Videos’.
Next, click on the ‘Add Gallery’ button on top of the post editor.
This will bring up a popup where you’ll see your video gallery. Click to select it and then click on the Insert button.
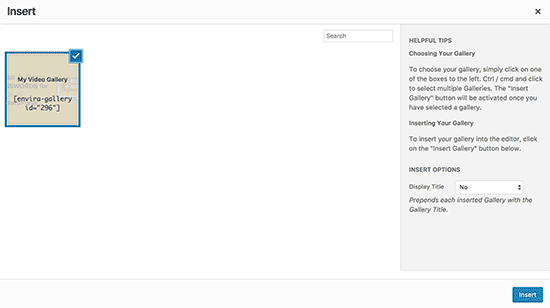
Envira Gallery shortcode will now appear in your post editor.
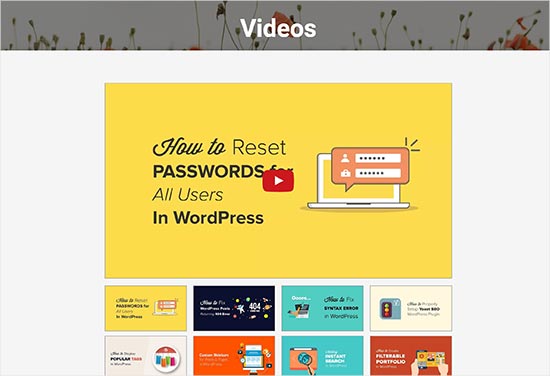
You can now update or publish your page and visit the page to see your video gallery in action.
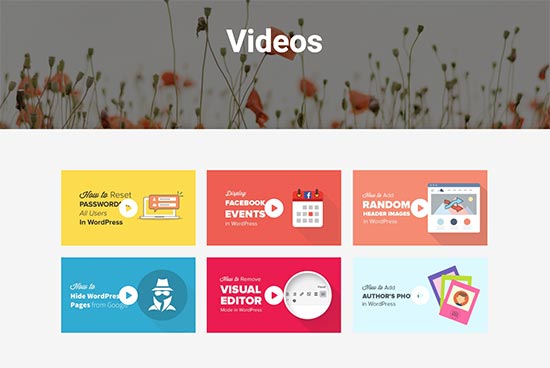
The best part is that clicking on a video item will open it in a lightbox popup with theater mode. This offers a far better viewing experience for your users.
They will be able to view the video without leaving your website, and they can also browse other videos in the gallery by clicking on the thumbnails below the player.
Method 2: Create a Video Gallery in WordPress with YouTube Channel Gallery
This method requires a YouTube API key to work, which makes the process a bit lengthier. Don’t worry we’ll walk you through it.
The first thing you need to do is install and activate the YouTube Channel Gallery plugin.
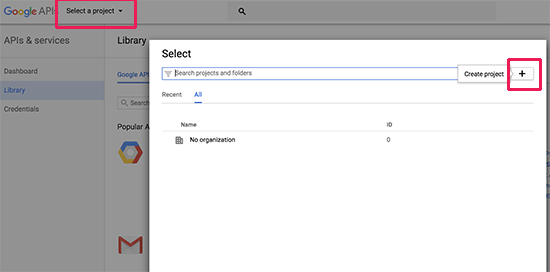
Next, you need to head over to the Google Developer Console website to generate a YouTube API key.
Click on the ‘Select a project’ button at the top left corner of the screen and then click on the add button.
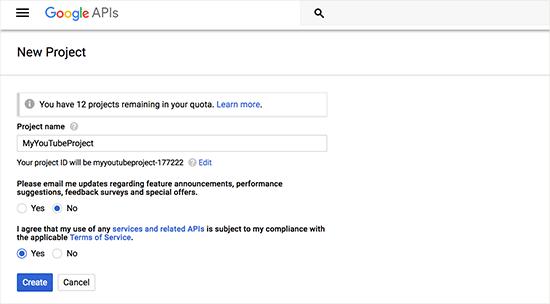
On the next screen, you need to provide a name for your project and agree to the terms of service. After that click on the create button to continue.
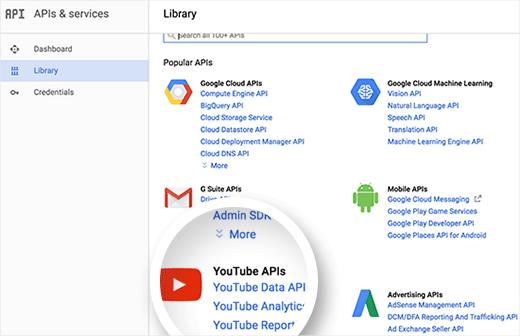
Next, you need to click on the API Library and then select YouTube Data API link.
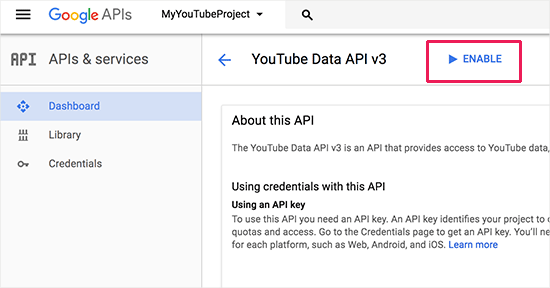
This will bring you to the API details page where you need to click on the Enable link to turn on this API for your project.
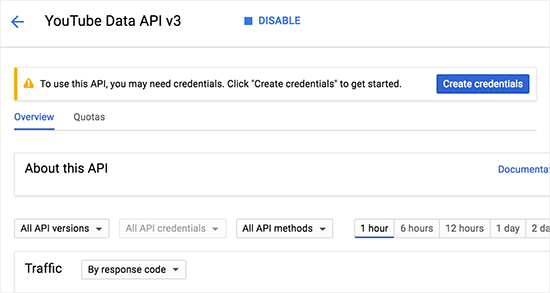
Developer console will now enable the API for your project. You still need to create credentials to get to the API key.
Click on the ‘Create credentials’ button to continue.
Now you need to enter how you will be using the API key. For ‘Where will you be calling the API from?’ options select ‘Web browser (JavaScript)’ and select ‘Public Data’ under ‘What data will you be accessing?’ option.
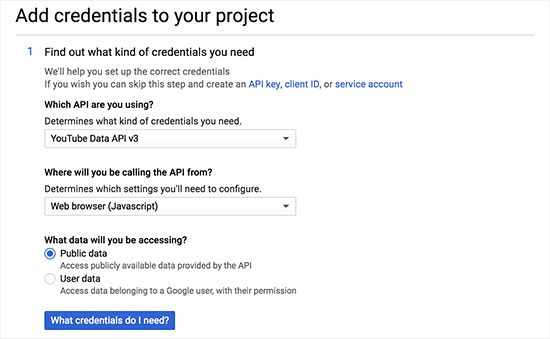
Click on ‘What credentials do I need’ button to continue.
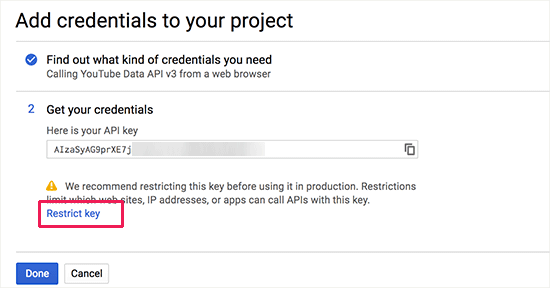
Developer console will now show your API key. You need to copy and paste this API key in a plain text file. You’ll need it later to create video galleries.
There is one last step remaining which is to restrict your API key to be used only on your website. To do that, click on the Restrict key link shown on your API key screen.
On the restrictions page, select HTTP Referrers option and then enter your domain name below in the following format:
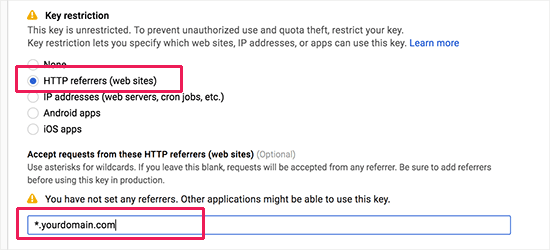
Don’t forget to click on the save button to store your changes,
Now that you have got your YouTube data API key, it’s time to create your video gallery.
YouTube Channel Gallery plugin comes with a powerful shortcode that you can add to your posts and pages to display your video gallery.
Simply create a new page or edit an existing one, and add the following shortcode inside the post editor.
[Youtube_Channel_Gallery user="wpbeginner" maxitems="8" thumb_columns_phones="2" thumb_columns_tablets="4" key="your-youtube-api-key-goes-here"]
Don’t forget to replace the user with your YouTube username, and the key with the YouTube API key you created earlier.
You can now save your post/page and visit your website to see your video gallery in action.
The plugin does not have a lightbox popup, and your videos will be played on the page. Clicking on a video thumbnail in the gallery will play the video in the top player.
We hope this article helped you learn how to easily create a video gallery in WordPress.
