
Do you know How to Create an Event Registration Page on your WordPress site? Recently one of our readers asked if they can allow users to sign up and buy tickets online for their events. In this article, we will show you how to easily create an event registration page in WordPress and sell tickets online.
Why Create an Event Registration Page in WordPress?
There are plenty of third-party event registration and ticketing tools available in the market. You can also add Facebook events to your WordPress site.
However, many third-party event registrations and ticketing services will charge a small fee for each ticket you sell. This quickly adds up, and you could end up paying a lot more than expected.
You will have limited options to promote your event on social media and even on your own website. Some event management services will insist on displaying their branding in your event emails, widgets, and tickets.
You can avoid some of these issues by creating your own event registration page in WordPress. This will allow you to collect online payments directly, store attendee information on your website, and use your own brand name when promoting the event.
That being said, let’s take a look at how to easily create an event registration page in WordPress.
Creating an Event Registration Page in WordPress
First thing you need to do is install and activate the WPForms plugin. For more details, see our step by step guide on how to install a WordPress plugin.
WPForms is a paid plugin, and you will need at least their PRO plan to access the PayPal add-on, which we will be using in this tutorial.
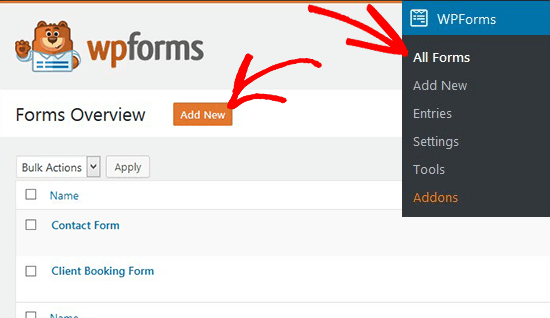
Upon activation, you need to visit the WPForms page in your WordPress admin area and click on the Add New button.
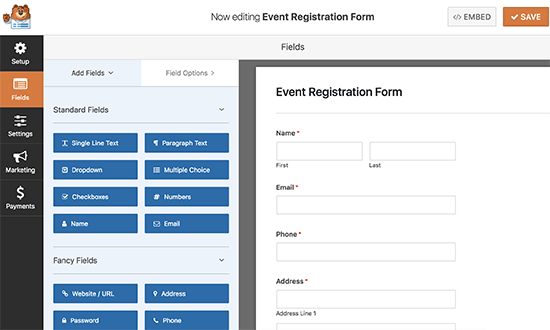
On the form builder, first, you need to enter a title for your event registration form. Below that, you will see a list of ready-to-use form templates that you can select. Click on the Billing / Order Form template to continue.
This template will set up a basic online order form asking users for their information like name, email, phone, address, available items, and more.
You can point and click on any field to edit or delete it. You can also add new form fields from the column on your left.
To add tickets, click on the available items field and change it to attendees or tickets.
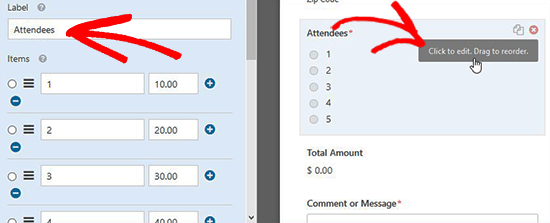
Your users will see the calculated price in the Total Amount field. Next, you need to set up the payment method.
Let’s go ahead and connect your event registration form to a payment service provider.
You need to click on the Payments tab in the left column and then click on the ‘Addons page’ link.
Note: You can also visit the addons page from your WordPress admin area by going to WPForms » Addons.
This will take you to the addons page. WPForms comes with addons for PayPal and Stripe. You can install either or both of them.
Note: In order to use Stripe, your website must have HTTPS / SSL enabled.
Click on the install button below the addon and then click on the activate button.
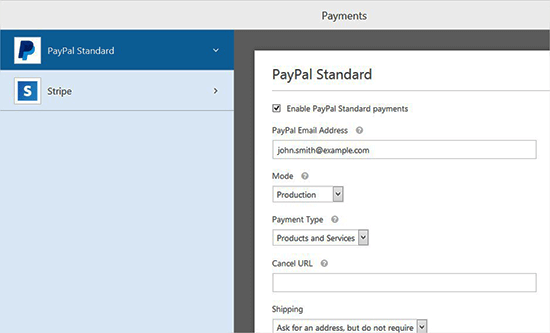
Once activated, you need to go back to Payments section to configure payment services on your form. Select your payment service and enable it.
You need to add the details like PayPal email address, mode, payment type, cancel URL, and more.
If you are using Stripe, then you will need to enter the API keys. For detailed instructions see how to use the Stripe add-on with WPForms.
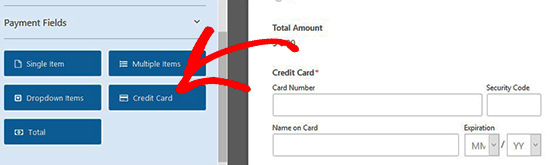
You will also need to enter a credit card field to your form before you can set up Stripe. Simply switch to the ‘Fields’ section and add a credit card field.
After setting up payments, let’s set up notification emails for both you and your users.
Simply go to Settings » Notifications and click on the Add New Notification button.
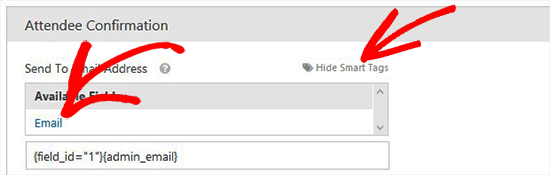
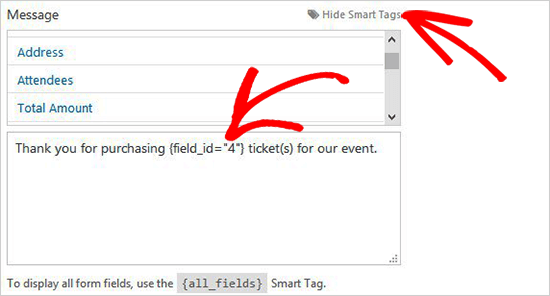
Now you need to scroll down to the Message section and add your custom message with the fields that you created for the registration form using Smart Tags.
Once you are done, you can save your changes and close the form builder.
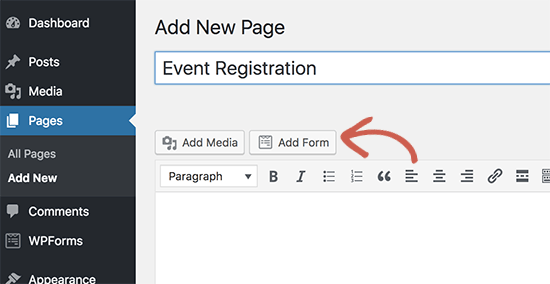
You can display this form on any page on your WordPress site. Let’s create a new event registration page in WordPress to display the form.
On the page edit screen, you will see a new button labeled ‘Add Form’ just above the editor.
Clicking on it will bring up a popup where you will be able to select and insert the event registration form you created earlier.
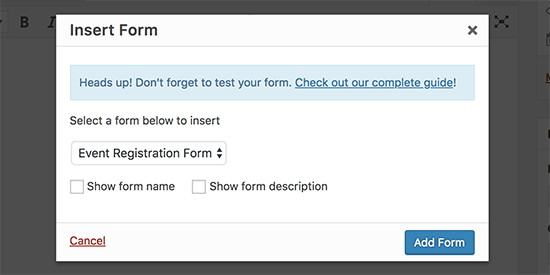
The plugin will now add the required shortcode to your page editor. You can save your changes and click on the preview to see your event registration page in action.

We hope this article helped you learn how to create an event registration page in WordPress. You may also want to see our list of the best WordPress booking plugins.
