
Do you want to learn how to create custom page layouts in WordPress? Beaver Builder allows you to create your own page layouts without writing any code. In this article, we will review Beaver Builder and show you how to create custom page layouts in WordPress with Beaver Builder.
Why and When you Need Custom Page Layouts
Many premium WordPress themes come with ready to use page layouts for different sections of a website. However, sometimes a built-in layout may not fit your needs.
You can create custom page templates in WordPress by creating a child theme and then adding your own page templates. But you will need some knowledge of PHP, HTML, and CSS for that to work.
This is where Beaver Builder comes in. It is a drag and drops page builder plugin for WordPress. It helps you create your own custom page layouts without writing any code.
Beaver Builder Review
Beaver Builder is very easy to use and beginner friendly. At the same time, it is loaded with incredible features to create professional looking pages.
It works with all WordPress themes and has tons of modules that you can just drag and drop to your page. You can create any kind of layout that you want and set it up just the way you imagined.
In this Beaver Builder review, we will show you how to use Beaver Builder to create custom page layouts in WordPress.
Let’s get started.
Setting up Beaver Builder Plugin
First, you need to purchase the Beaver Builder plugin. It is a paid plugin, with pricing starting from $99 for unlimited sites.
Next, you need to do is install and activate the Beaver Builder plugin.
Upon activation, you need to visit Settings » Page Builder page to enter your license key.
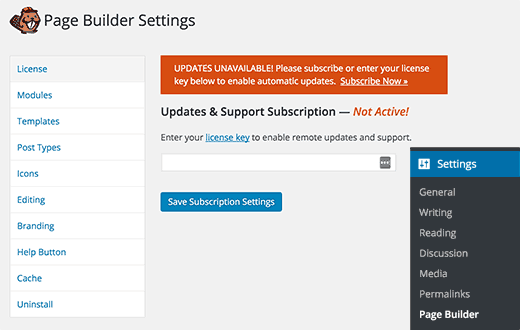
After entering your license key, you are now ready to create beautiful page layouts.
Creating Your First Custom Page Layout With Beaver Builder
Simply create a new page in WordPress by visiting Pages » Add New. You will notice a new Page Builder tab in the WordPress editor.
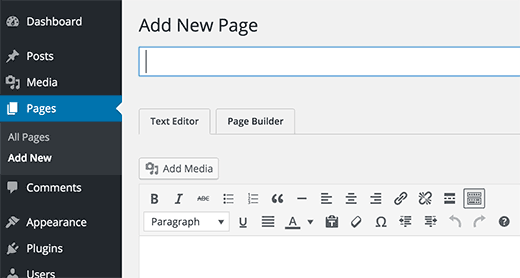
Click on the ‘Page Builder’ tab to launch the Beaver Builder.
If this is your first time using Beaver Builder, then you will see a welcome popup offering you a guided tour.
At this time, you can click on No Thanks button to skip the tour. Since we will walk you through different features in this guide, so you don’t need the tour.
After that, you need to click on the Templates button in the top menu.
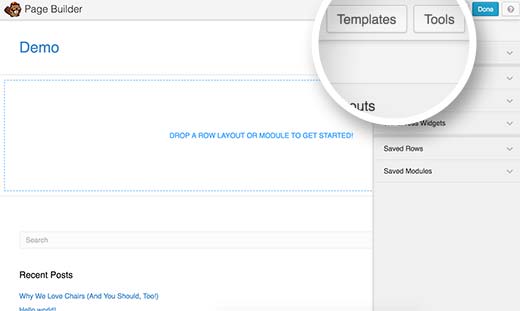
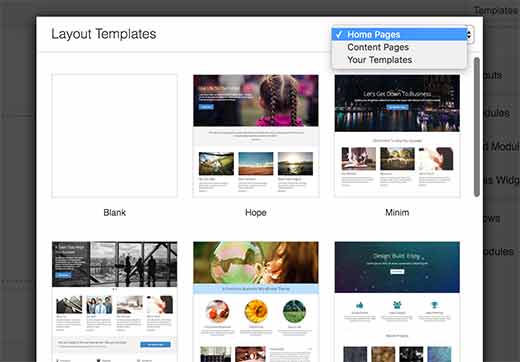
Beaver Builder comes with some professionally designed templates to get you started right away.
Don’t worry, you can customize the template as much as you like. It is just a quick way to get you started with a layout.
When you select a layout, Beaver Builder will load it in the preview window. Take your mouse to an item and Beaver Builder will highlight it.
You can simply click on the wrench icon on any highlighted item to edit it.
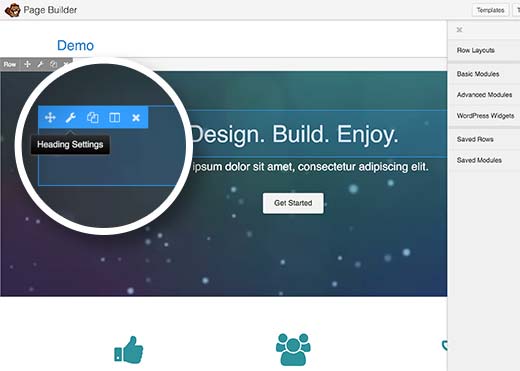
Beaver Builder will show a popup with different settings that you can edit. You can change text, color, background, font, padding, margin, etc.
You can also just click on an item in the live preview and drag and drop to move it around the page.
The Beaver Builder layouts are based on rows. You can drag and drop to rearrange rows. You can also remove or add a new row.
Simply click on the Row Layouts menu and then select the number of columns you want in your row.
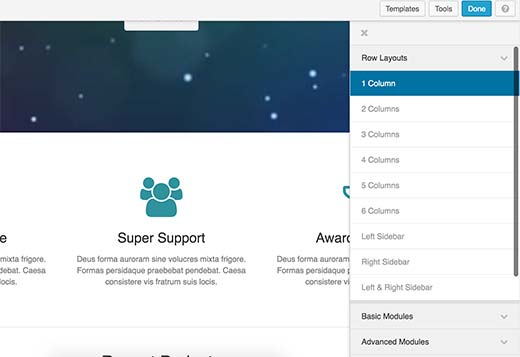
Beaver Builder will add the row to the live preview on your site.
You can add items to your row using the basic or advanced modules and widgets. These modules allow you to add the most commonly used elements like buttons, headings, text, images, slideshows, audio, video, etc.
Simply select an item and drag it to the row you just added. Click on an item to edit its properties.
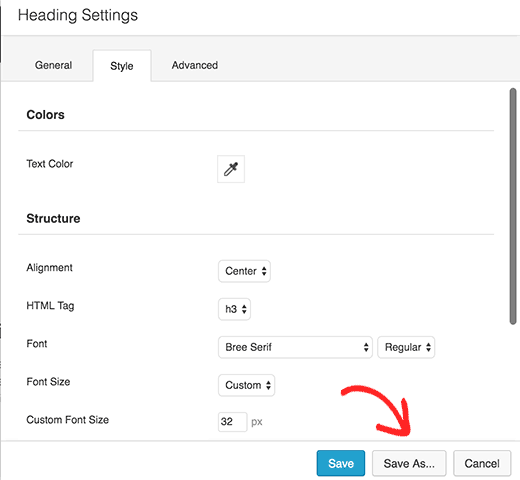
You can also save a row or a module to reuse later on other pages. Click on Save as a button while editing a row or module.
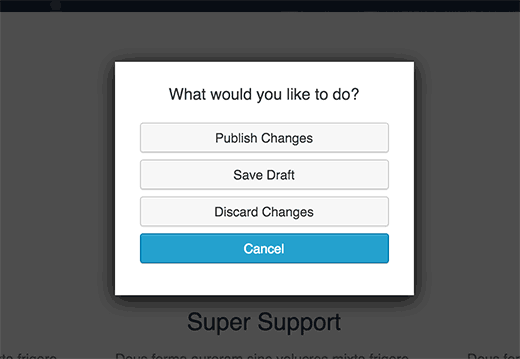
Click on the Done button when you are finished editing your page. Beaver Builder will show a popup with buttons to publish or save your page as a draft.
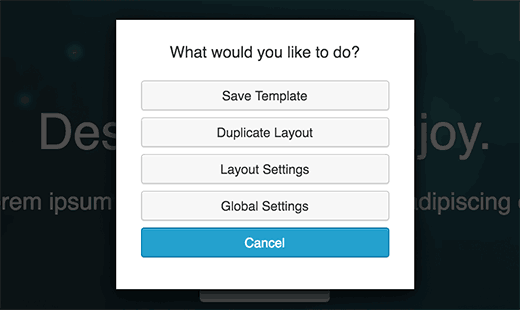
You can also reuse an entire page layout for other pages on your WordPress site. Simply open the page with Page Builder and then click on the Tools button in the top bar.
Beaver Builder will show you a popup. You can save the page as a template, or quickly create a duplicate page with the same layout.
Managing Page Layout Templates in Beaver Builder
Each Beaver Builder license entitles you to use it on unlimited websites. But how do you move your page templates from one WordPress site to another?
Beaver Builder stores user-created templates in a custom post type called templates. It is hidden by default, but you can make it visible by going to Settings » Page Builder and clicking on the Templates tab.
Simply check the box next to ‘Enable Templates Admin’ option and click on save template settings button.
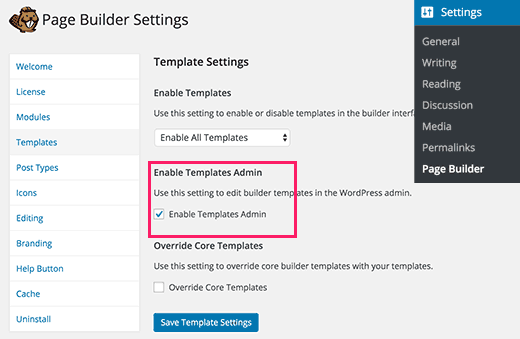
You will notice a new menu item labeled Templates would appear in your WordPress admin bar. All page layouts that you save as template will appear on that page.
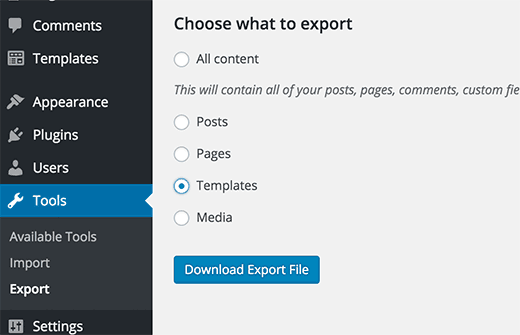
Since it is a custom post type, you can easily export your Beaver Builder templates using the built-in export feature in WordPress.
Visit Tools » Export page and select Templates. Click on ‘Download export file’ button and WordPress will send an XML file for you to download.
Now login to the WordPress site where you want to import the templates. Visit Settings » Import page and click on WordPress.
You will be asked to download and install the WordPress importer plugin. After which you will be able to simply upload your templates XML file and import it.
That’s all, we hope this article helped you create custom page layouts in WordPress using Beaver Builder.
