Have you just started using AWeber and want to install the AWeber form widget in WordPress? AWeber is one of the most popular email marketing service used by many WordPress users and marketers around the world. In this article, we will show you how to easily add the AWeber web form widget in WordPress.
There are plenty of ways to add the AWeber email signup form on your WordPress site. In this article, we will cover three different ways and share the Pros and Cons of each.
Method 1: Adding Basic AWeber Web Form in WordPress
AWeber comes with a built-in web form builder. It is limited in options, but if you just want a quick and easy web form, then this would work for you.
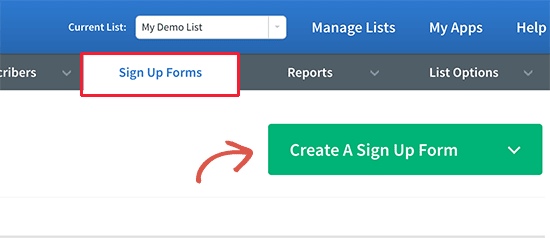
First, you need to visit your AWeber dashboard and click on the sign-up forms. After that click on the ‘Create new signup form’ button.
This will launch AWeber’s signup form wizard. It comes with few ready to use templates that you can use. You can also add extra fields from the left column as needed.
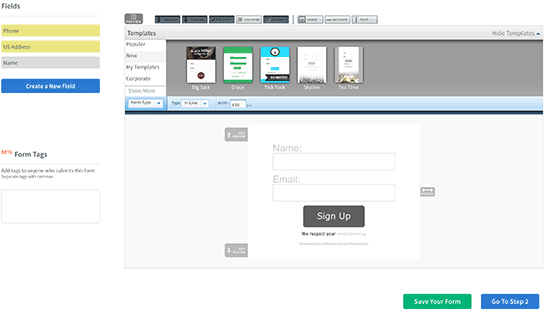
Next, click on the go to step 2 button.
This will bring you to the form settings page. Here you can provide a name to your form, choose a thank you page, and an already subscribed page.
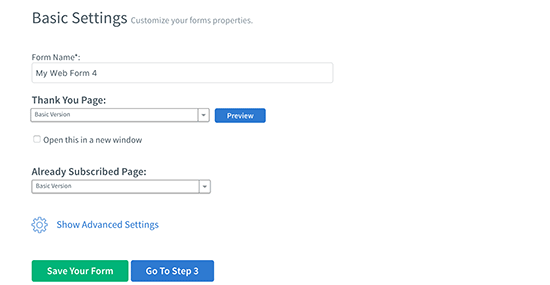
Once you are done, click on the ‘Go to Step 3’ button.
On the next page, you need to click on the ‘I will Install My Form’ button. You’ll be presented with two types of code that you can copy. Go ahead and copy the JavaScript code.
Next, head over to your WordPress site’s admin area and go to Appearance » Widgets page.
You need to add a text widget to your WordPress sidebar.
The default WordPress text widget has a visual and text option. You need to click on the ‘Text’ editor and paste the code inside it.
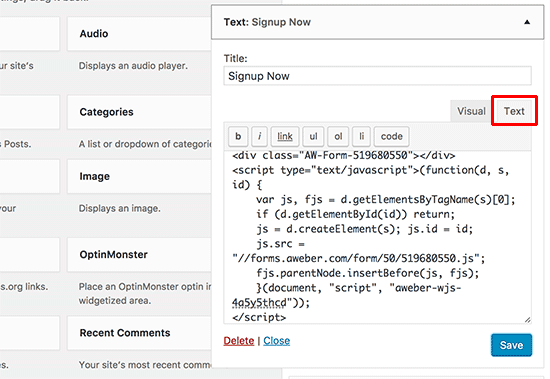
Don’t forget to click on the save button to store your widget settings.
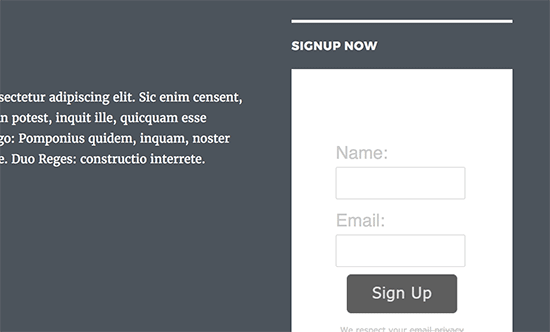
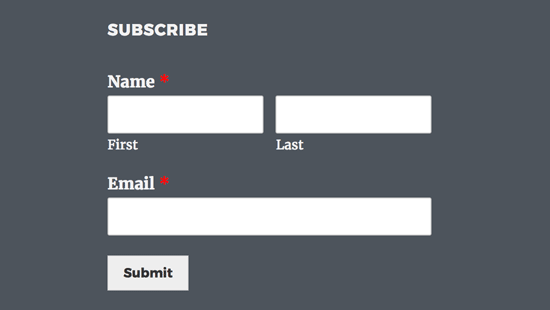
You can now visit your website to see your AWeber email signup form in action.
You can make any customization that you want using CSS. If you’re not familiar with CSS, then you can use the CSS Hero plugin.
Method 2: Adding AWeber Web Form Using OptinMonster
If you’re looking for better customization options and more powerful features, then you need OptinMonster.
OptinMonster is the best WordPress lead generation plugin in the market. It allows you to convert website visitors into subscribers and customers.
OptinMonster is a premium service, so you’ll need to signup for an OptinMonster account. You will need at least the Plus plan to access their sidebar form feature.
Once logged in to OptinMonster, you need to click on the Create Campaign button to get started. This will take you to the Create a New Campaign screen.

You can choose from one of the many high-converting campaign types such as lightbox popup, full-screen overlays, slide-ins, floating bars, or even the sidebar widget.
Once you select your campaign type, you will be presented with a wide variety of campaign templates.

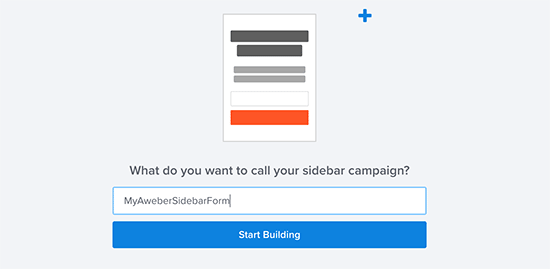
After you select the template, you will be asked to provide a name for this campaign. You can enter any name you want and click on the start building button.
This will launch the OptinMonster builder interface. You will see the live preview of your form on the right. You can simply point and click on any element in the form to edit or change it.
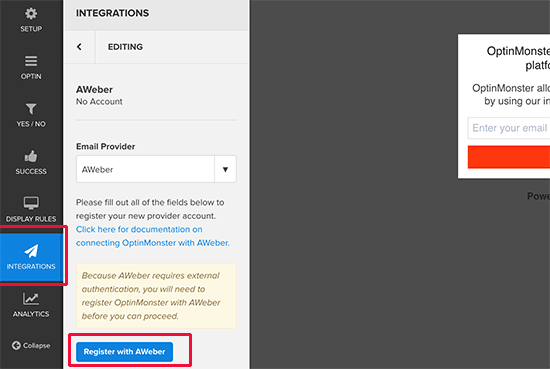
Once you are done customizing your form, you need to click on the ‘Integrations’ tab and then click on New Integration. After that, you will be asked to select your email service provider. You need to select AWeber and then click on the ‘Register with AWeber’ button.
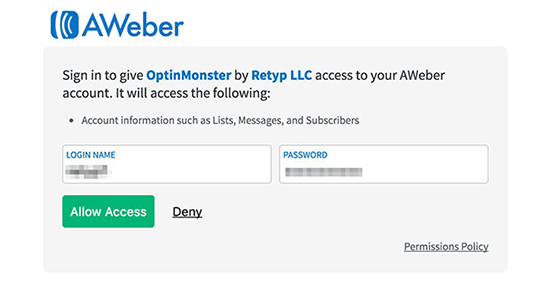
This will bring up a popup where AWeber will ask you to log in. Simply enter your AWeber username and password and click on the Allow access button.
AWeber will now provide you with an Authorization Code to copy and paste into the OptinMonster builder. You also need to a provide a label for this AWeber integration which is for your own use.
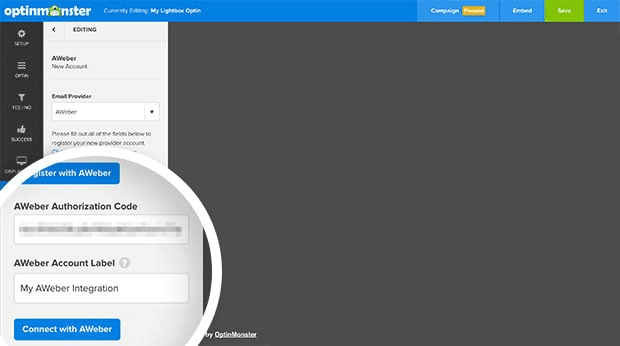
After you have entered the information, click on ‘Connect with AWeber’ button to continue.
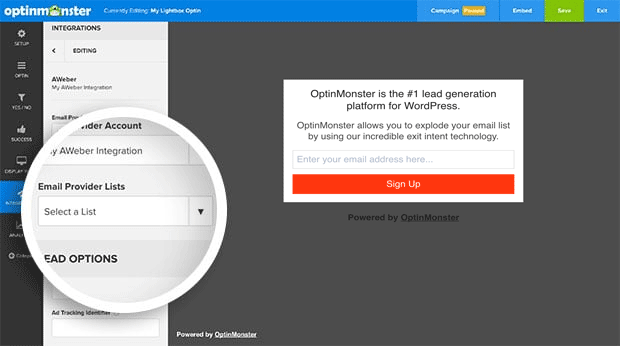
OptinMonster will now connect to your AWeber account and show your email lists. You need to choose an email list that you want users to subscribe to.
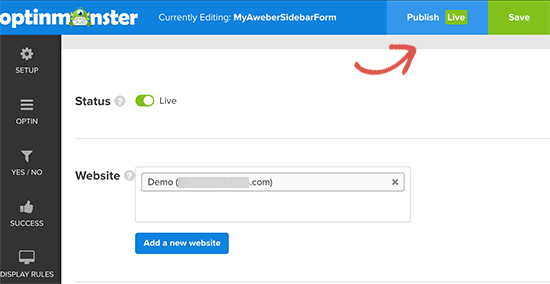
Next, you need to click on the Publish button at the top and then toggle the status to live. You also need to make sure that you add your website there.
Now that you have created your form, you are ready to display it on your website.
Go ahead and install/activate the OptinMonster plugin on your WordPress site.
This plugin acts as a connector between your WordPress site and your OptinMonster account.
Upon activation, the plugin will add a new menu item labeled ‘OptinMonster’ to your WordPress sidebar. Clicking on it will take you to plugin’s settings page where you will be asked to enter your OptinMonster API Key. You can obtain this information from your account on the OptinMonster website.
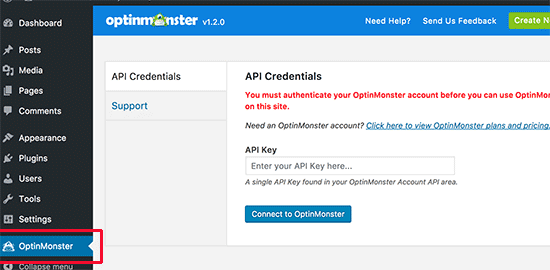
After entering your API key click on the ‘Connect to OptinMonster’ button. The plugin will now connect your WordPress site to your OptinMonster account.
In your Options tab, you should be able to see your newly created option listed there. In case you don’t see it, click on the refresh options button to reload options.
Your Optin will be disabled by default. First, you need to click on the Go Live link below it to make it available on your WordPress site.
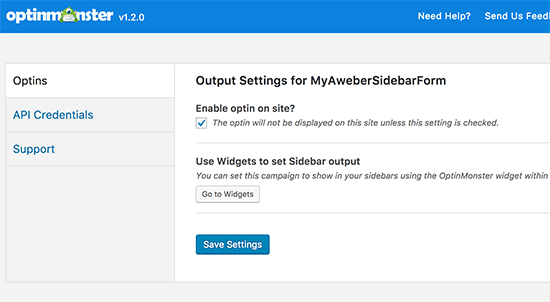
After that, you need to click on the ‘Output Settings’ link to configure the form output options.
On the next screen, make sure that the ‘Enable option on site?’ the option is checked and then click on the ‘Go to Widgets’ button.
This will take you to the Appearance » Widgets page where you need to add the OptinMonster widget to your WordPress sidebar.
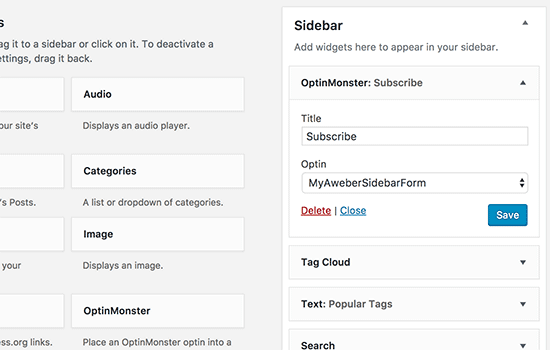
Select your Aweber form in the drop-down menu and click on the save button to store your widget settings.
That’s all, you can now visit your website to see your AWeber signup form in action.
Method 3: Adding AWeber Web Form Using WPForms
If you want to create an AWeber form similar to WPBeginner’s contact form where you give users an option to signup to your newsletter when they’re contacting you, then WPForms is the best solution.
You can also use it to create simple newsletter signup forms as well.
The first thing you need to do is install and activate the WPForms plugin.
WPForms is the best WordPress contact form builder plugin in the market. You’ll need their Plus plan to access the AWeber addon.
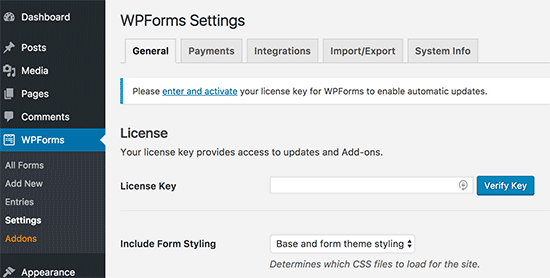
Upon activation, you need to visit WPForms » Settings page to enter your license key. You can find the license key from your account on WPForms website.
Once you have activated your license key, you need to head over to the WPForms » Add-ons page and click on the Install button next to AWeber addon.
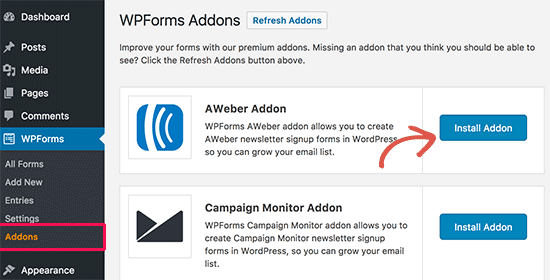
WPForms will now download and install the AWeber addon for you. You will need to click on the ‘Activate’ button to start using the addon.
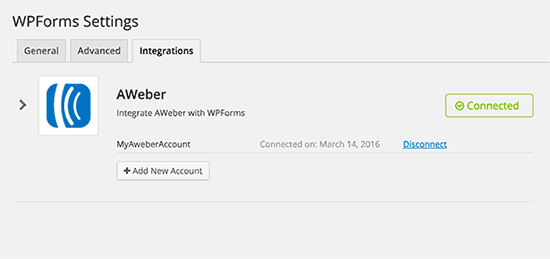
Next, you need to connect WPForms to your AWeber account. Go to WPForms » Settings page and click on the ‘Integrations’ tab.
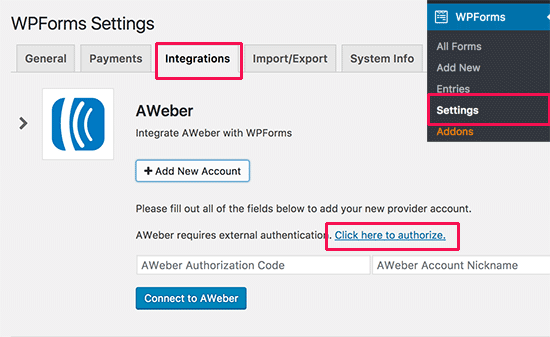
Click on the ‘Add New Account’ button under AWeber and then click on ‘Click here to authorize’ link.
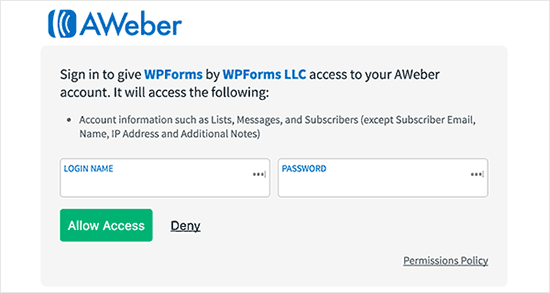
This will bring up a popup which will take you to the AWeber website. You’ll be asked to sign-in to your AWeber account. Simply enter your AWeber username and password, and then click on the Allow Access button.
AWeber will now show you an authorization code.
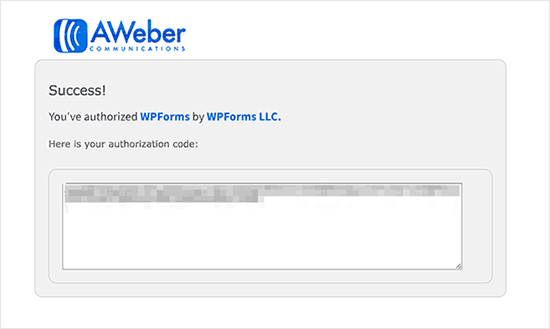
You need to copy this code and paste it in the AWeber integration settings on your WordPress site. You can use anything in the Account Nickname field.
Next, click on ‘Connect to AWeber’ button to continue.
WPForms will now connect your WordPress site to your AWeber account. Upon success, it will show you the ‘Connected’ status next to your AWeber integration.
You are now all set to add the AWeber signup form to your website.
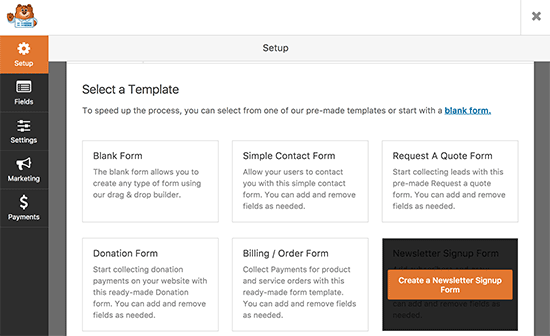
Head over to WPForms » Add New page. This will launch the WPForms Builder interface.
First, you need to provide a name for your form and then select ‘Newsletter signup form’ template.
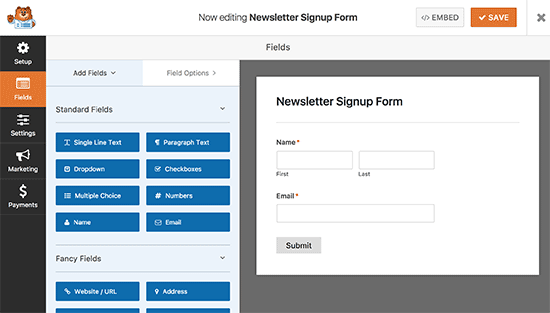
WPForms will now load the newsletter signup form template with the name and email fields. The default form would work for most scenarios, but you can also add or rearrange form fields if you need.
Once you are satisfied with the form, the next step is to connect the form to your AWeber account.
Click on the Marketing tab from the right menu and then select AWeber.
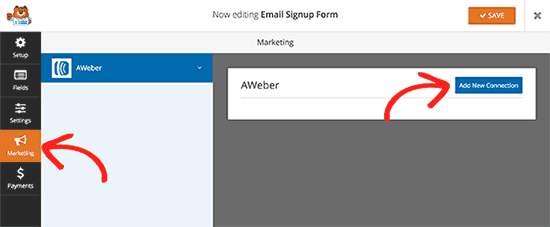
This will bring up a popup where you need to provide a nickname for this connection. You can use any nickname you like.
WPForms will now fetch your AWeber account information. You will need to select your AWeber account and email list you want to use.
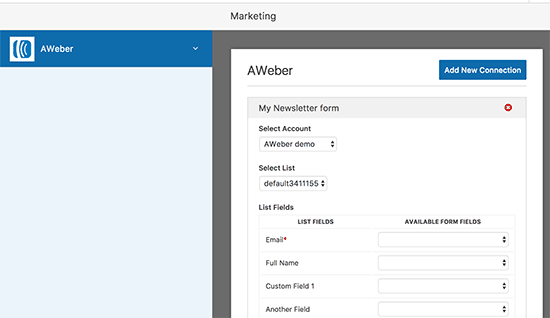
After that, you need to select list fields that you want to add to your form fields. You can also enter any tags you’d like to apply to new subscribers who fill out this signup form.
Once you are done, click on the ‘Save’ button to store your changes.
Now that you have successfully created the AWeber signup form. The next step is to add the form to your WordPress site. You can add this form to any WordPress post, page, or sidebar widget.
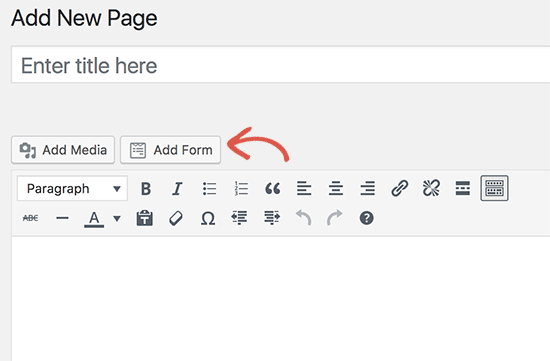
To add the form in a post or page, simply edit the post//page and then click on the ‘Add Form’ button.
This will bring up a popup where you need to select the newsletter form you just created and then click on the ‘Add Form’ button.
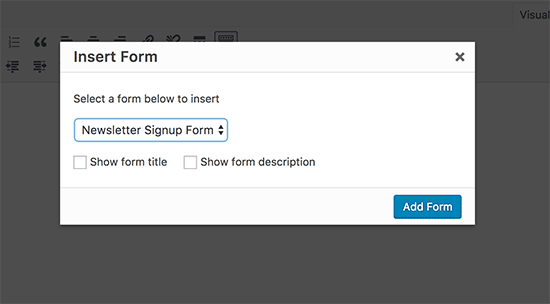
WPForms will now add the form shortcode in the post editor. You can now save or publish the page and visit your website to see the form in action.

You can also add the form to a sidebar widget. Head over to Appearance » Widgets page and add WPForms widget to a sidebar.
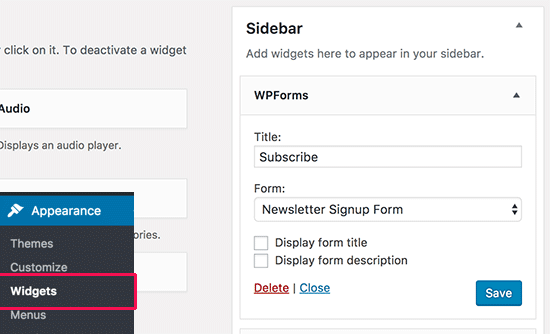
Select your the newsletter form you created earlier from the drop-down menu and then click on the save button to store your widget settings.
You can now visit your website to see your AWeber web form widget in action.
We hope this article helped you learn how to install an AWeber web form widget in WordPress.
