Do you want to display your business address in WordPress? Usually, you can just type the address on your contact page or in a sidebar widget. But this approach is not to search engine optimized. In this article, we will show you how to properly add your business address in WordPress with a map and other useful information.
When and Why You Need Business Address in WordPress
Usually, most business websites add their address on their contact page. They use a contact form plugin like WPForms to add a contact form.
This works fine for most websites and online business. However when you have a physical business, its beneficial if you add your address in a search engine optimized format.
We recommend adding a contact form as well as other information like maps, directions, phone number, and business hours in an SEO friendly format.
Adding a Business Address in WordPress
The first thing you need to do is install and activate the “Business Profile” plugin.
Upon activation, the plugin will add a new menu item labeled Business Profile to your WordPress admin bar. Clicking on it will take you to plugin’s settings page.
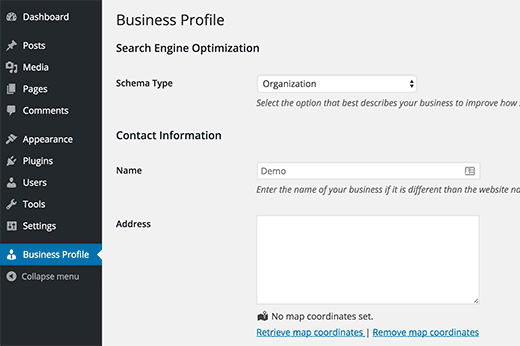
First, you need to select the Schema type. Schema.org is the standard micro-data vocabulary used by search engines to show rich snippets and additional information with search results.
Select a schema type that best describes your business.
Under the contact information section, you need to provide the name and address of your business. After entering the address, click on ‘Retrieve map coordinates’ link. The plugin will automatically fetch map coordinates for the address you entered.
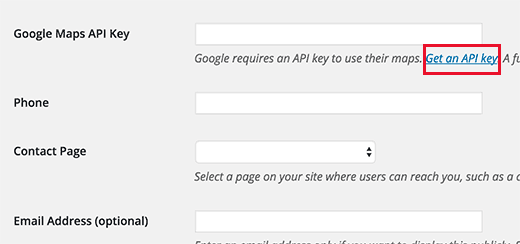
Next, you need to provide a Google Maps API key. Generating this key is easy, click on the Get an API key link.
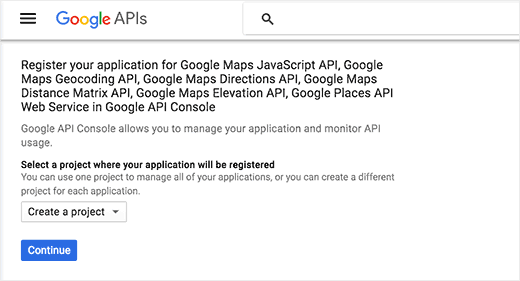
This will take you to the Google Developer Console website. You need to locate ‘Get a key’ button and click on it.
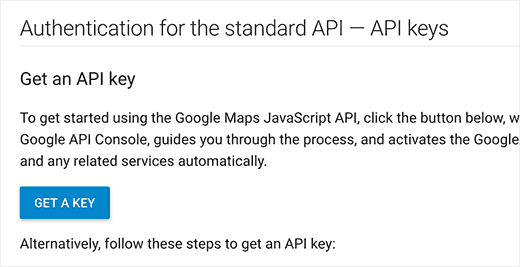
On the next screen, simply click on the continue button to create a new project. You will have to wait for a few seconds as your new project is created.
Once your project is ready, you will be redirected to setup credentials. Enter a name for your project and the domains where this API key will be used. Use asterisk to white label your entire domain. For example,
*.example.com/*
Make sure to replace example.com with your own domain name.
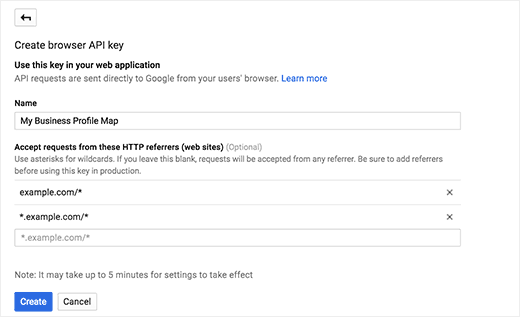
After that click on the create button to continue. Your API Key will now be displayed in a popup.
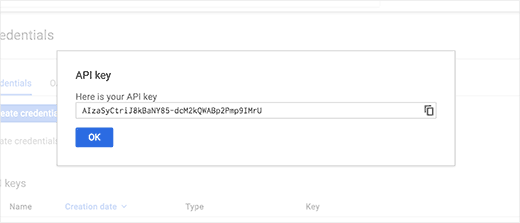
You need to copy your API key and paste it on the plugin’s settings page.
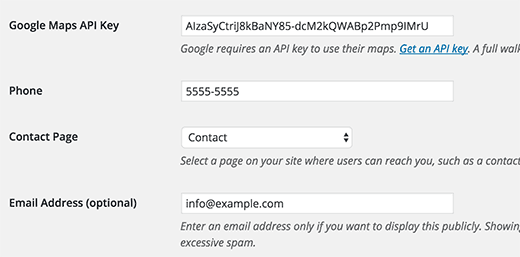
You can now continue entering other contact information on plugin’s settings page. You can add a phone number, and select a page where users can contact you.
This could be a page with your contact form
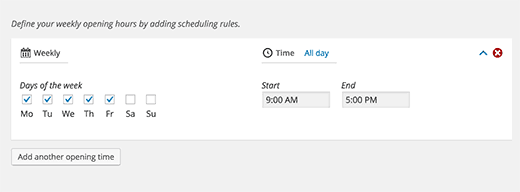
Under the schedule section, you can enter your business hours. Simply click on add business hours button and then select days and hours you are open for business.
If you want to add multiple locations, then check the box next to multiple locations option. Click on the ‘Save Changes’ button to store your plugin settings.
Now that you are done creating your business profile, it is time to add it to your website.
Showing Business Address on Your Website
Start by creating a new page in WordPress or edit an existing one. You need to add this shortcode inside post editor where you want to display your business profile.
[contact-card]
Make sure to save your page and publish it.
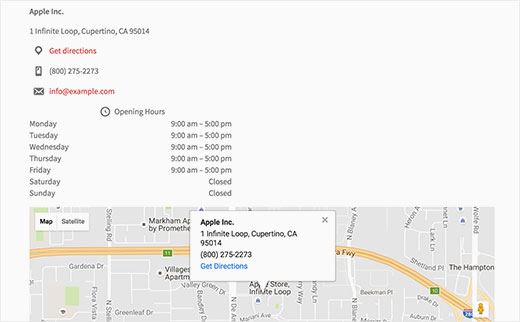
That’s all, you can now visit the page to see your full business address information. It will have your business address, a link to get directions, phone number, and a map with your business location highlighted.
You can also display your business address in a sidebar. To do that, go to Appearance » Widgets page, and you will see a new ‘Contact Card’ widget under the list of available widgets.
Simply add the contact card widget to a sidebar.
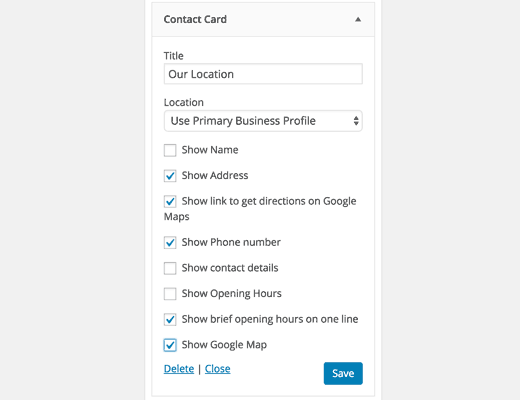
The contact card widget allows you to choose which information you want to display in your sidebar. Simply check options you want to be displayed and then click on the save button.
Adding Multiple Locations for Business Address
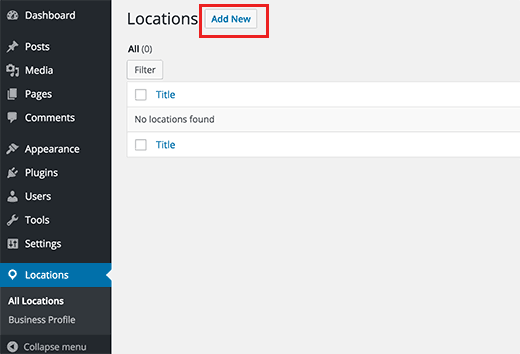
If you enabled the multiple locations option in plugin’s settings, then you can manage multiple business locations. Go to Locations » All Locations page and then click on Add New button.
You will now see the Add new location page which looks a lot like a post or page edit screen. That’s because your location is stored as a custom post type.
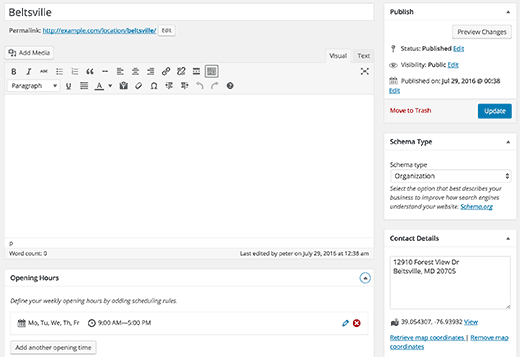
You need to add your business name in the title and use the post editor to provide any description that you may want to add.
Next, select the Schema type and enter your contact details just like you did on the plugin’s settings page. You will also find a meta box to add your business hours.
Once you are done, you can publish your location.
All your locations can be seen on the custom post type’s archive page which will be found at:
http://www.example.com/location
Replace example.com with your own domain name.
Each location will also have its own permalink URL. You can go to Locations » All Locations and click on ‘View’ link to find a location’s page.

You can also manually add a particular location to a post or page using a shortcode like this:
[contact-card location=2]Replace 2 with the location’s post id. See our guide on how to find post id in WordPress.
That’s all, we hope this guide helped you learn how to properly add your business address in WordPress.
