Do you want to show the before and after photos on your website? A before and after photo can be useful to display side by side comparison of two identical images with minor differences. In this article, we will share how to easily show before and after photo in WordPress.
How Does the Before and After Photo Effect Work?
Normally people use Photoshop to create a before and after image. It’s a single photo that shows before/after effects, and you can add it as a static image on your WordPress website.
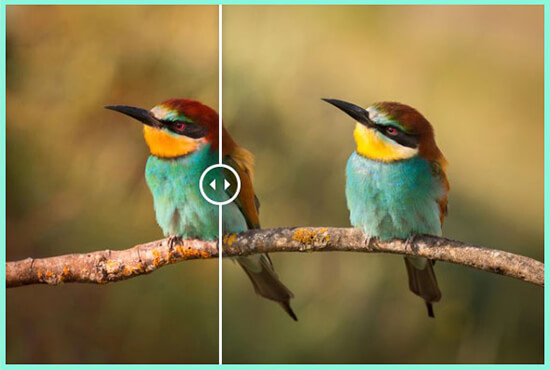
A functional photo slider is an interactive way to show 2 different versions of a similar image in full size. You can move the slider handle to compare both images side by side.
Let’s take a look on how to easily show before and after photo in WordPress.
Showing the Before and After Photo in WordPress
The first thing you need to do is to install and activate the Twenty20 Image Before-After plugin
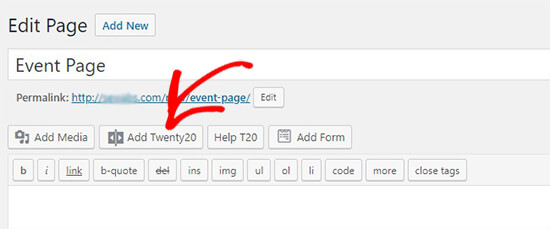
Upon activation, you need to create or edit a page/post in your WordPress admin area where you want to show the before and after image. Now, click on the Add Twenty20 button above the text editor.
It’ll open the WordPress Media Library in a popup. From here, you need to select two images for the before and after slider.
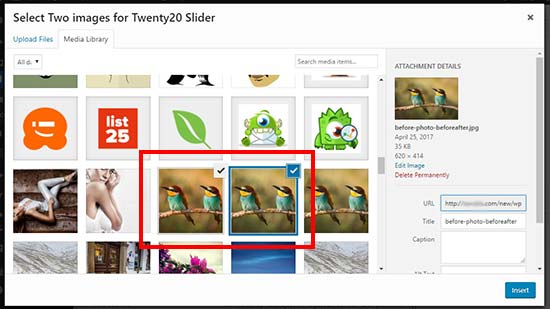
Once the images are selected, click on the Insert button.
Next, it’ll display the text fields to add content on top of the before and after photos. You can also add width for the slider, offset value, slider direction, and more.

After that, click on the Insert Shortcode button to add the before and after photo in your WordPress page.
You can also use the Twenty20 image widget to display the before and after photo in your WordPress sidebar. Simply go to Appearance » Widgets section in your WordPress admin, and then drag the Twenty20 Slider widget in your Sidebar widget area.
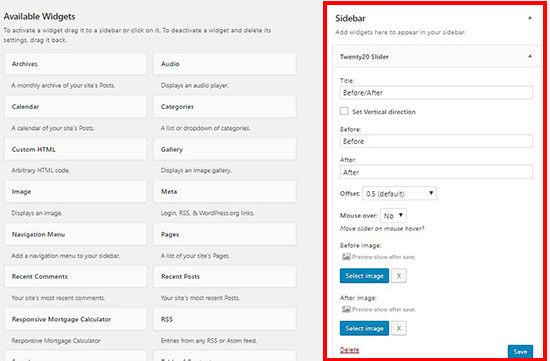
The Twenty20 Slider widget has similar settings for the before and after photo, as we shared above in this guide. You can select the 2 images one by one in the widget settings to create the before and after photo slider.
Now, you can visit your website to see the before and after photo in action.
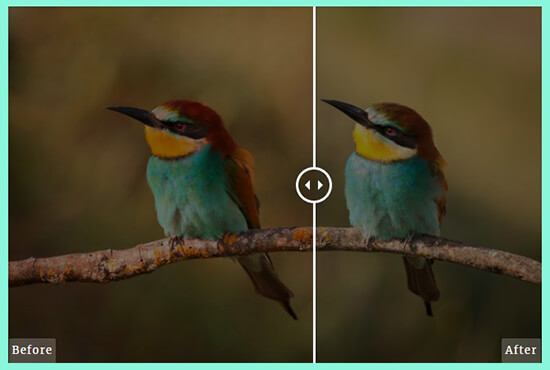
As the users slide the handle towards each image, the other image will become visible. Users can take the slider all the way to the right or the left to see the full before and after image. As the users slide the before and after labels will automatically disappear.
This plugin works great with the popular WordPress page builders like Beaver Builder and Elementor to quickly show before and after photo in your website pages without using shortcodes.
We hope this article helped you learn how to show before and after photo in WordPress.
