
Have you ever wanted to white label WordPress admin dashboard for your clients or users? WordPress comes with a nice user interface, but this does not mean that you cannot customize it for your own needs. In this article, we will show you how to white label your WordPress admin dashboard.
What is White Labeled WordPress and When Do You Need it?
WordPress is the most popular content management system (CMS) in the world. However, many people still don’t know about it. When working on a client project, it is possible that they may not be familiar with WordPress.
Clients are interested in an easy way to update their website. They don’t want to struggle with themes, plugins, updates, security, and learning how to use powerful software like WordPress.
White labeling a WordPress admin dashboard allows you to customize WordPress admin area. You can replace the default WordPress branding with your own and hide unnecessary items to create a more streamlined interface for your clients or users.
Having said that, let’s take a look at how you can white label WordPress admin dashboard without much effort.
White Labeling WordPress Admin Dashboard
The first thing you need to do is install and activate the White Label CMS plugin.
Upon activation, you need to visit Settings » White Label CMS to configure the plugin settings.
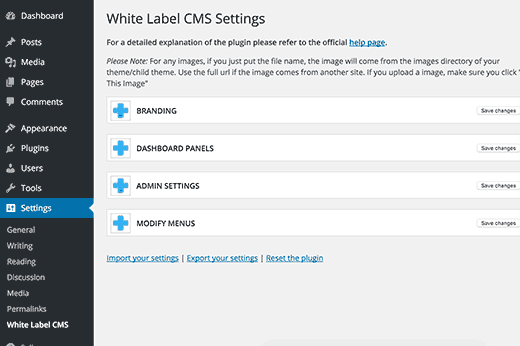
The settings page for the plugin allows you to control and customize every aspect of WordPress administration screens. It is divided into these four sections:
- Branding
- Dashboard Panels
- Admin Settings
- Modify Menus
Clicking on the plus icon next to each section will expand it. Make sure that you click on the save changes button next to each section to store your changes.
Let’s dive deeper into the different options available under each section and how to properly configure them.
Branding
This is where you will replace the default WordPress branding with your own custom branding.
The first option under the branding is to show or hide the WordPress logo in the admin bar. You can also upload your own custom logo to replace the WordPress logo.
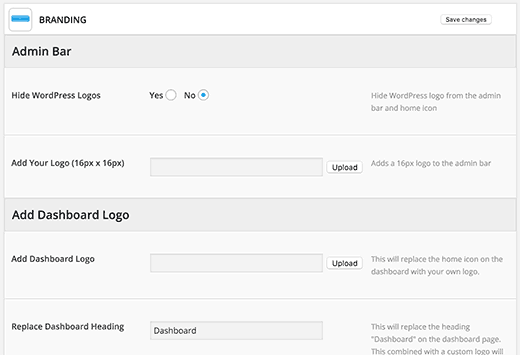
The next option is to replace the home icon from the Dashboard with your own custom logo or graphic. You can also decide what you want to call the dashboard.
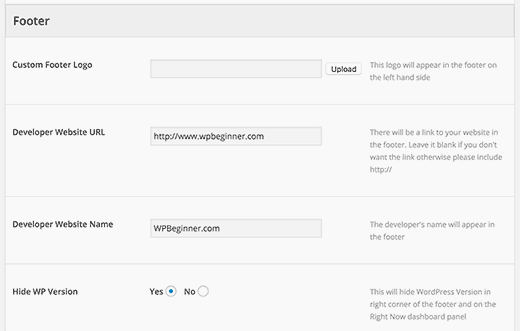
In the footer area, you can replace ‘Thank you for creating with WordPress text with the link to developer’s website. Optionally you can also add developer’s logo. This is particularly helpful if you are building a client site.
One important aspect of white labeling WordPress is to change the WordPress logo on the login screen.
The login section under branding allows you to do that easily. You can replace the WordPress logo with your own logo, which needs to be exactly 300px by 80px in dimensions.
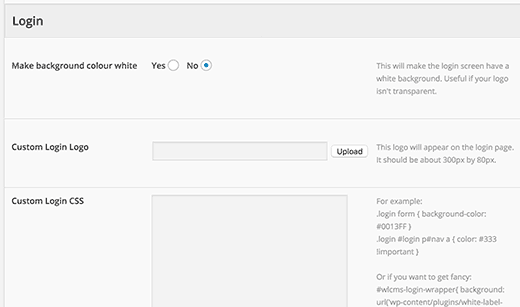
You can use CSS skills to further customize the WordPress login screen.
Dashboard Panels
The main WordPress admin screen is called the dashboard. This is what users usually see when they log in to WordPress. It contains default panels showing different information about the website.
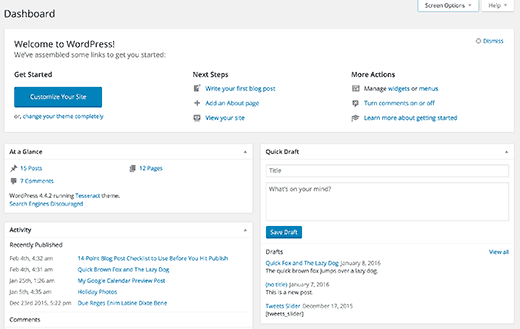
There is usually quite a lot of information and many users don’t know what they are supposed to do with it.
White Label CMS allows you to customize this section and make it look cleaner. Click on the Dashboard Panels section to expand it, and you will see options to show and hide each panel.
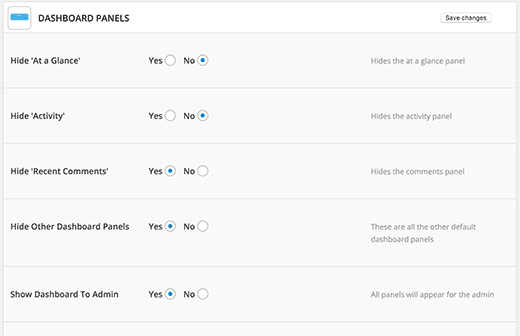
These admin panels are also called Dashboard widgets.
Admin Settings
This section under White Label CMS settings allows you to control different settings for the admin area.

The first option is to allow users to use as/login their WordPress login URL. However, if you have Permalinks enabled on your site, then WordPress will automatically redirect users who visit www.example.com/login to www.example.com/wp-login.php
The next option is to hide the update nag notification. This option will hide the update notifications from the screen.
You can also hide the screen options and help menus from the top.
Under hide meta boxes settings, you can customize the post editing screens for users. If your users will not be using these meta boxes, then removing them will clean up the post editing screens for your users.
Modify Menus
WordPress comes with a handy admin menu. It has links to media, posts, pages, comments, tools, plugins, themes, settings, etc.
If you are using a bunch of plugins on the site, then those plugins will probably add their own menus as well.
This could make your admin menu quite long. Many of your clients or users will probably not need these menus.
Under the Modify Menus section of White Label CMS, you can select which menus you want to show to your users.
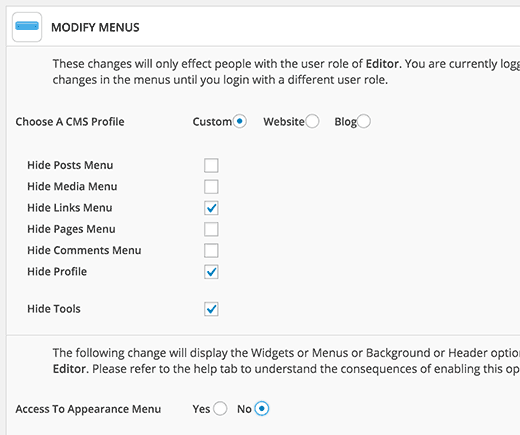
You can also disable access to the Appearance menu. This area has options like switching themes, modifying widgets, backgrounds, etc. If your clients and users are inexperienced with WordPress, they might end up breaking their site’s layout.
Import/Export or Reset Your Settings
If you feel that you will use the same settings for all your clients or websites, then you can export the settings and then import them on other sites.
You will find these options at the bottom of the plugin’s settings page.
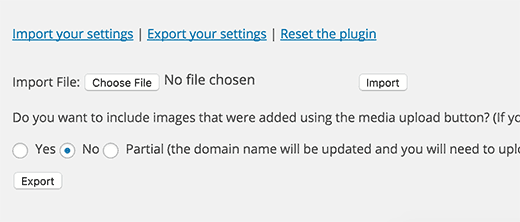
If at some point you feel like you want to reset plugin back to the default WordPress state, then you can click on Reset the plugin link. It will simply undo all the plugin settings.
While white labeling WordPress will help you remove unnecessary things and add your own branding, it will not change how WordPress admin area looks.
Important Note
If you’re doing work-for-hire and will not be managing your client’s sites on a regular basis, then we DO NOT recommend hiding admin menus or disabling the admin nags.
Only do that if you’re going to be regularly updating and managing the website.
We hope this article helped you learn how to white label your WordPress admin dashboard.
